/STYLE SPOTLIGHT
ASCII Characters: The Full Guide
By Kailash · Updated June 8, 2026 · 5 min read
The short answer
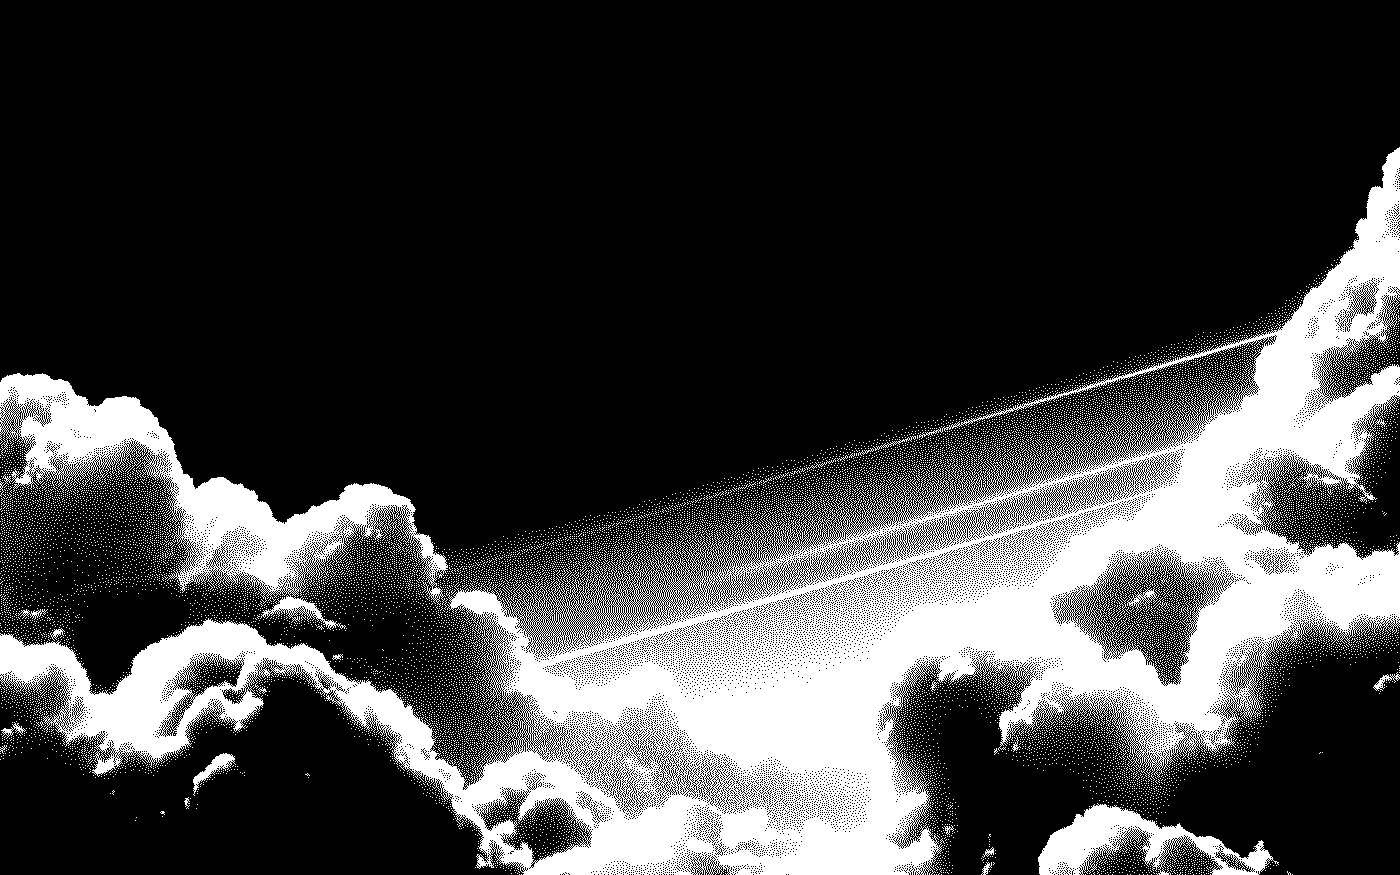
The Characters style is classic ASCII art: every cell of your image becomes a printable character chosen by brightness, dense glyphs like @ # S for shadows, sparse ones like . : - for highlights. It's the most versatile style in ASCII Magic: pick a ramp, raise contrast, and it works on photos, logos, and video alike.
If pixel art is about blocks and halftone is about dots, the Characters style is about glyphs, actual typed symbols standing in for tone. It's the oldest form of ASCII art, born on teletypes and BBS boards, and it's still the one most people picture when they hear "ASCII." The neighbour trick that produces smooth tone from a limited character ramp is the same core idea as dithering, spread the quantisation error across pixels so the eye reads a gradient. This guide covers how it works, how to control it, and when to reach for it over the other 13 styles.
How the Characters style works
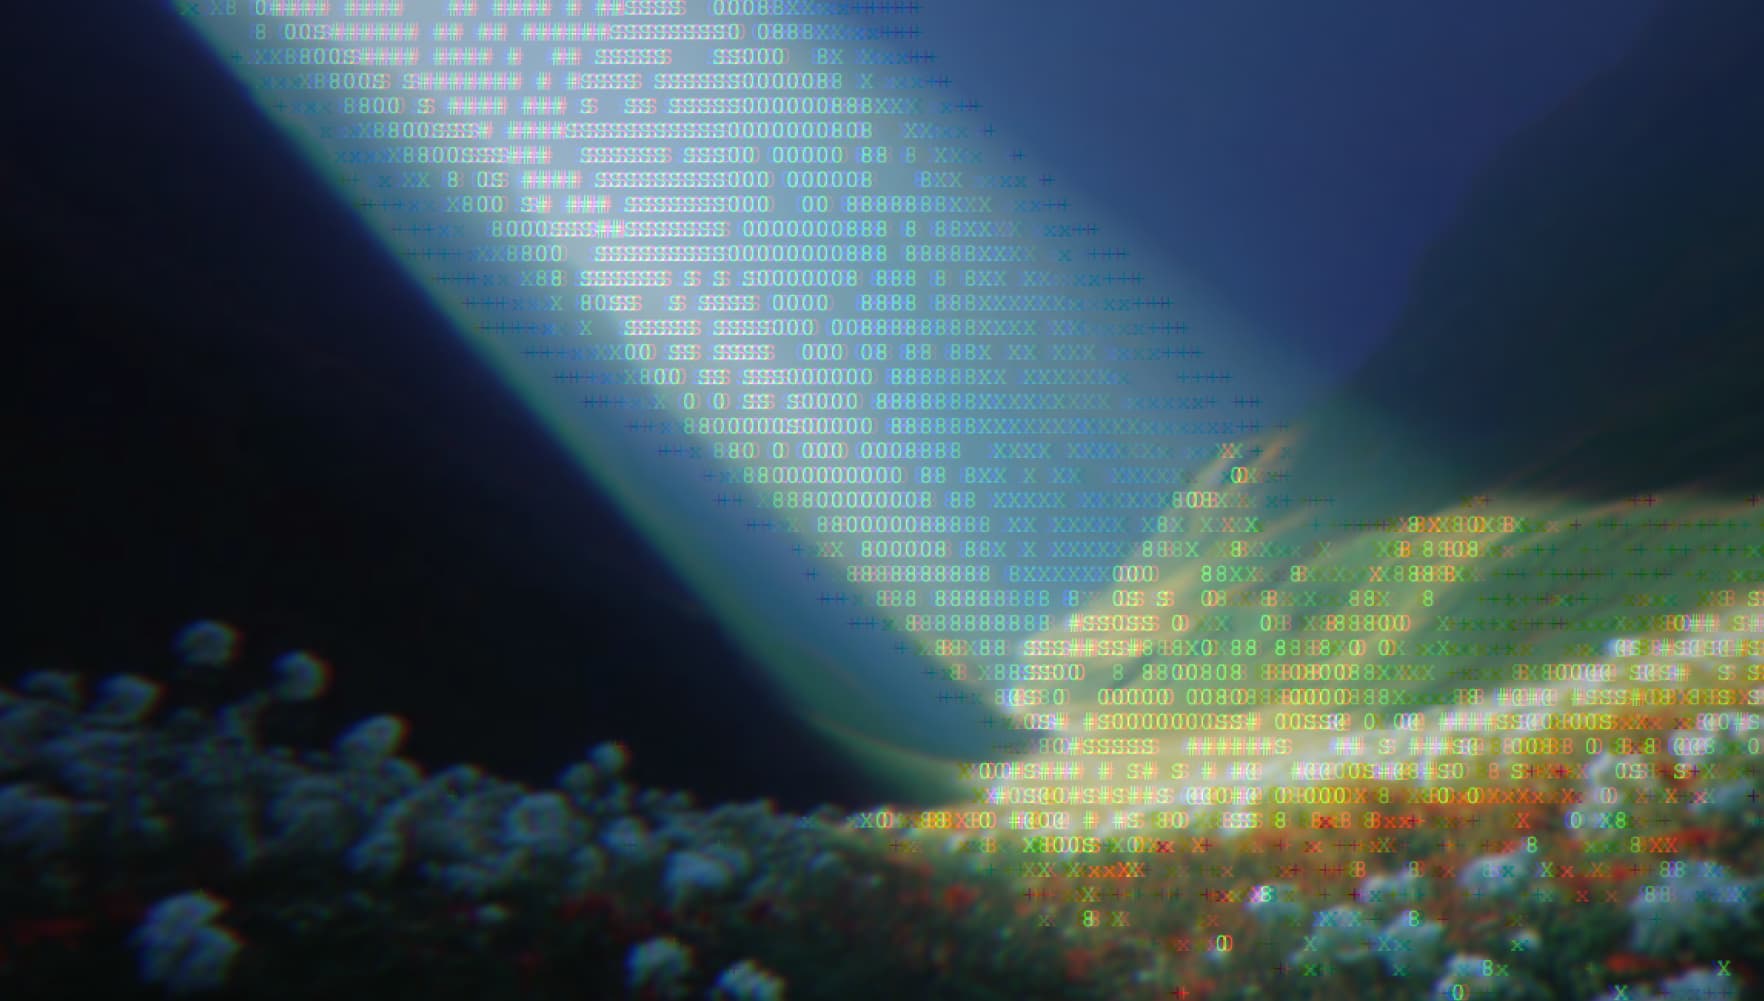
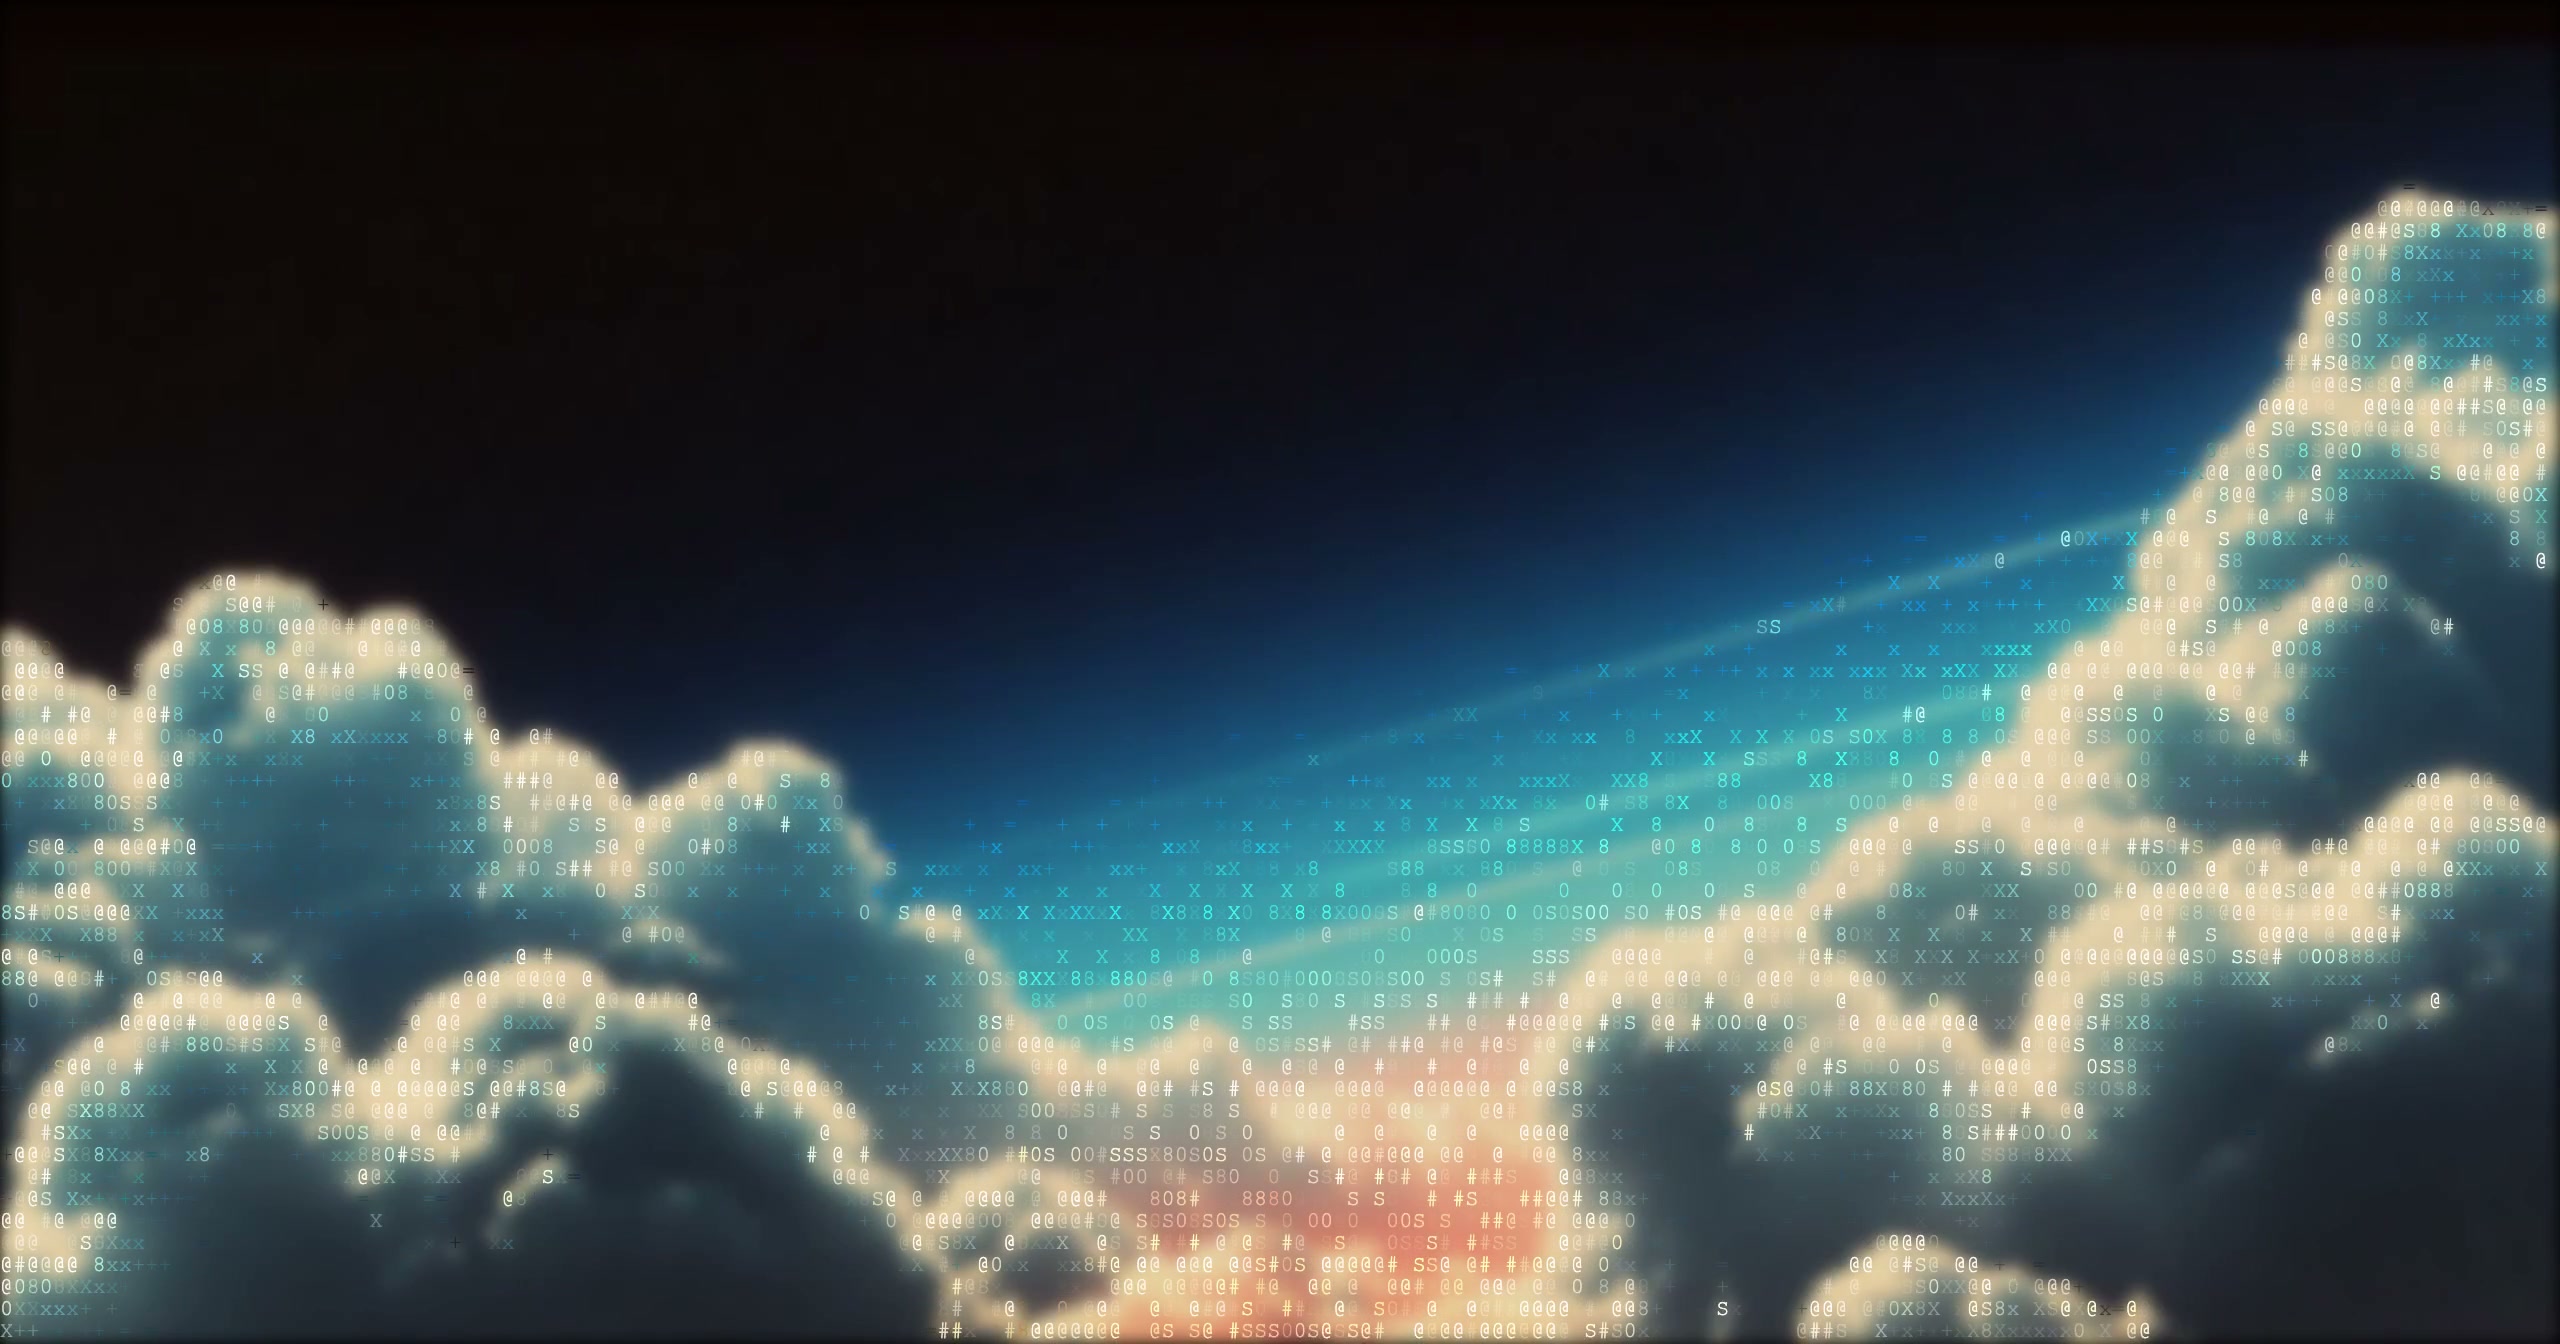
The renderer divides your image into a grid of cells. For each cell it measures the average brightness, then picks a character from a ramp, an ordered string of glyphs running from "light" to "dark." A bright cell gets a sparse character (lots of background showing through); a dark cell gets a dense one (lots of ink). Do that across the whole grid and the glyphs average out, at a distance, into a recognisable image.
Two things decide how it looks: the ramp (which glyphs, in which order) and the grid size (how many cells, set by font size). Everything else, contrast, density, edges, colour, is fine-tuning on top.
Choosing a character ramp
The ramp is the single biggest creative lever. ASCII Magic gives you three Character Set presets, plus your own:
- Standard (@#S08Xx+=-;:,.), a balanced ramp with plenty of brightness steps. The default, and a great all-rounder for photos.
- Detailed, a longer ramp with more distinct glyphs for the smoothest tonal gradients. Best for faces and high-detail images.
- Minimal (. : -), clean, graphic, poster-like. Great for logos and bold shapes.
- Custom, type your own set into the Chars field (a word, a name, a themed set); the renderer maps it to brightness just the same.
For solid, terminal-style fills (█ ▓ ▒ ░), switch the Style to Block Characters, that's a dedicated render mode rather than a ramp.
Rule of thumb: more distinct glyphs in the ramp means smoother gradients; fewer glyphs means a punchier, more graphic look.
Tuning contrast, density and edges
ASCII has a narrow tonal range, a couple dozen brightness steps at most, so contrast does a lot of heavy lifting:
- Contrast, push it up to pull the subject away from the background. Flat, evenly-lit photos turn to mush without it.
- Coverage / density, how much of the frame fills with glyphs versus staying as background.
- Edge emphasis, traces outlines so the subject stays legible even at low character counts. This is what keeps a face recognisable.
- Font size, smaller cells mean more characters and more detail (and a bigger export).
Colour, background and video
Classic ASCII is monochrome, but the Characters style can tint each glyph to its source pixel for full-colour output, or sit on a transparent background so you can drop it onto something else. And because the renderer runs per frame, it converts video to ASCII just as easily as a still, export the result as a looping MP4 or GIF.
Try the Characters style →When to use Characters over other styles
Reach for Characters, our image to ASCII converter, when you want the unmistakable "typed-out" look, terminal art, code-poster aesthetics, retro computing vibes, or any time the text-ness is the point. If you'd rather have clean blocks, use Pixel Art; for a print-style dot pattern, use Dots/Halftone; for chunky tiles, Mosaic or LEGO. The whole family shares the same controls, so once you've learned Characters you've effectively learned all 14 styles.