/TUTORIAL · PHOTO → MOSAIC
How to Turn a Photo into a Mosaic (Free, No Photoshop)
By Kailash · Updated June 28, 2026 · 6 min read
The short answer
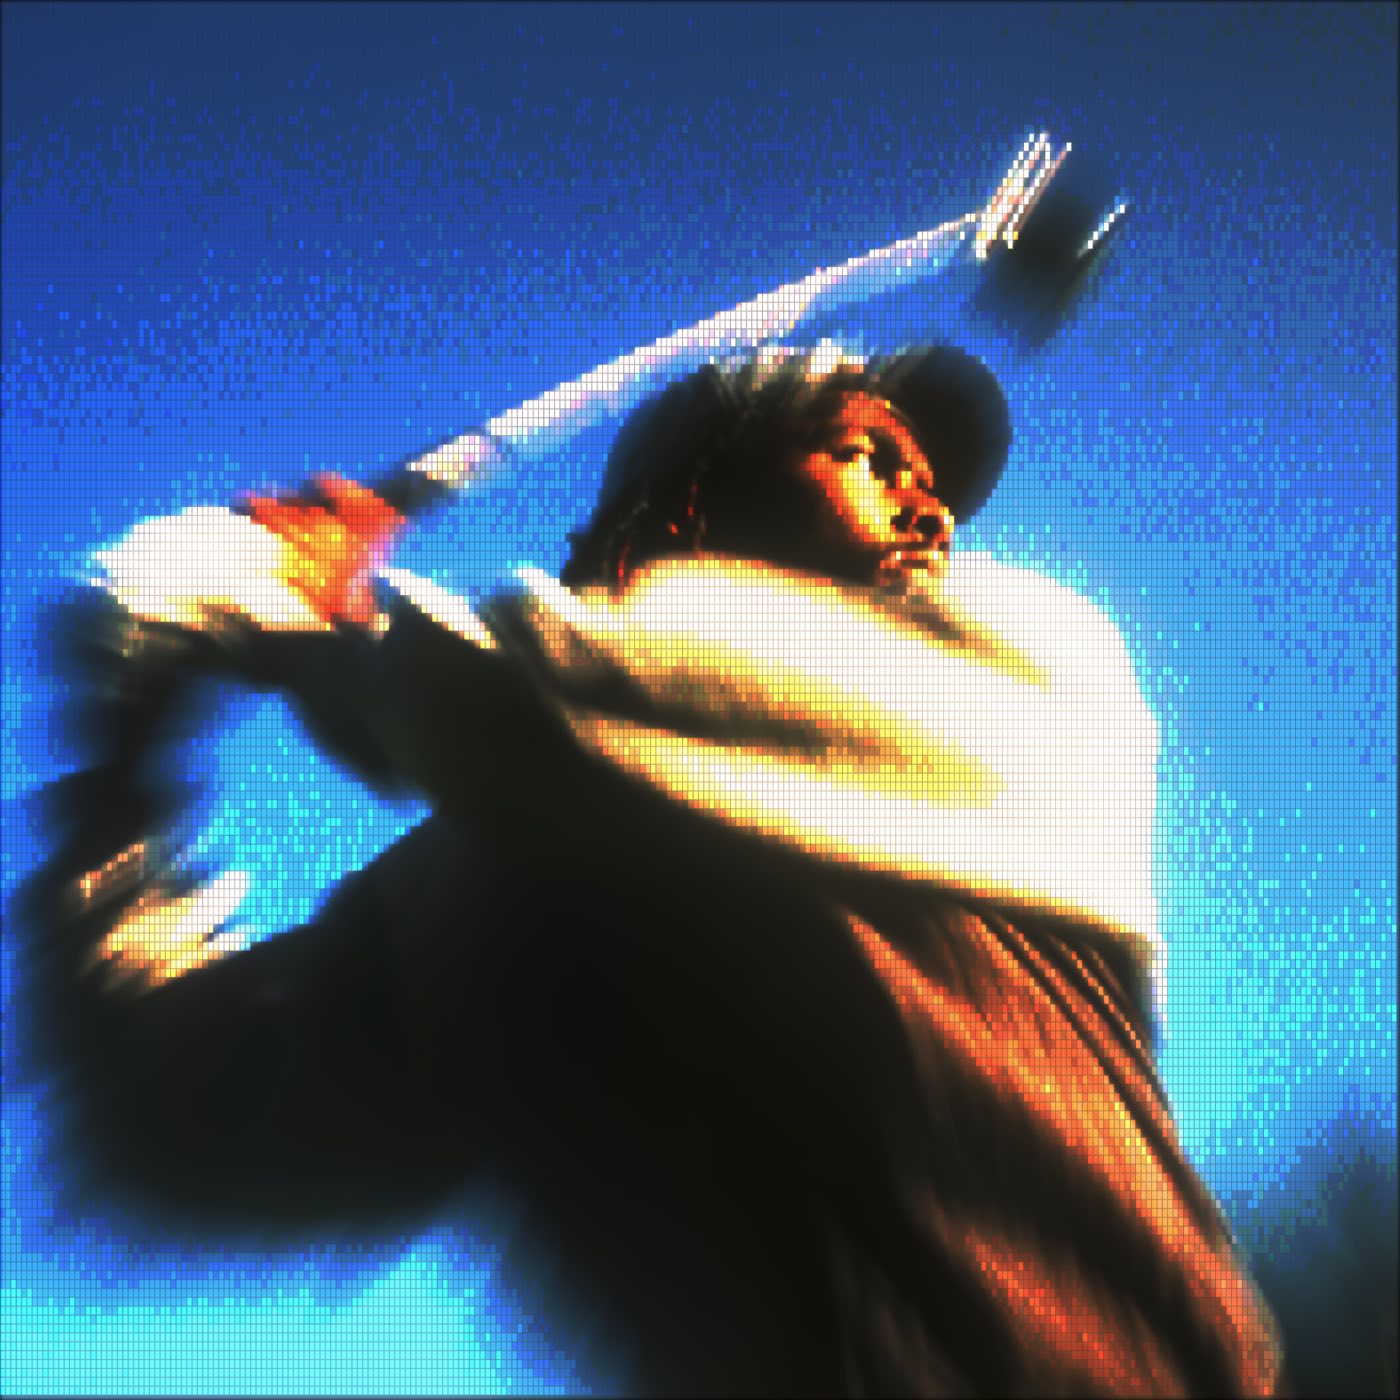
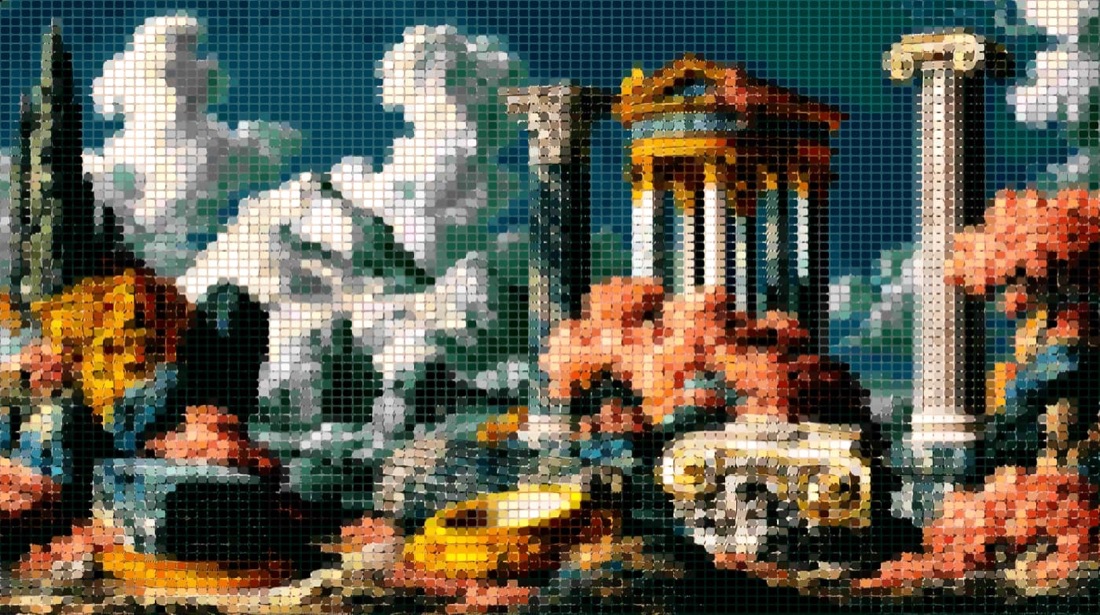
Open a free browser-based mosaic generator, drop in your photo, switch the render mode to Mosaic, and pick a tile size. Every region of the image collapses into a single colour tile, the classic tile-mosaic effect. Pick square, wide, tall or hex tiles, optionally apply a palette (Game Boy, Pico-8, custom), and export PNG, GIF or MP4. It is free, browser-only, no Photoshop, no Illustrator, no signup, no upload.
"Turn a photo into a mosaic" can mean two very different things, and they need different tools. This guide covers the photo mosaic effect, the tile-art look where every region of your image becomes one solid colour tile. It does not cover photomosaic collages, where a big image is built out of many tiny different photos; that is a separate kind of tool and requires a photo library. If you came here for the tile effect, you are in the right place.
What you will need
Just a browser and a photo. We will use ASCII Magic's mosaic effect generator. It is free, no signup, and decoding and rendering happen in your browser with HTML5 Canvas, so your photo is never uploaded. JPG and PNG both work; brighter, higher-contrast images make stronger mosaics because each tile has a clear colour to grab.
How to make a photo mosaic in 6 steps
Open the editor and drop your photo
Open the ASCII Magic editor and drag your photo onto the canvas (or click to browse). The image is decoded locally and starts rendering as a live preview, every edit from here updates in real time.
Switch the render mode to Mosaic
In the styles rail, pick Mosaic. The editor immediately collapses the photo into a grid of colour tiles, each tile holds the average colour of the pixels it covers. This is the foundation of the mosaic effect.
Pick a tile size
Tile size is the biggest lever on the look. Smaller tiles preserve detail and read like a fine mosaic; larger tiles look bold and graphic. Start medium and lower the tile size until the subject still resolves, then raise it a notch for graphic punch.
Choose square, wide, tall, or hex tiles
Square tiles give the classic pixel-mosaic look, balanced and neutral. Wide tiles create horizontal motion, useful for landscapes and panoramas. Tall tiles create vertical motion, good for portraits. Hex tiles read like stained glass and add organic rhythm. Try a few; switching is instant.
Apply a palette (optional)
Layer a limited-colour palette on top of the mosaic for a retro look. The built-in Game Boy palette gives four greens; Pico-8 gives 16 saturated tones; C64 and NES palettes give classic 8-bit colour vocabularies. You can also build a custom palette by picking colours directly. A palette turns a photographic mosaic into a graphic mosaic.
Export PNG, GIF or MP4
Export the mosaic as a PNG (up to 4× resolution for print), an animated GIF (if you switched on an animation effect), or an MP4 if the input was a video. There is no watermark, no signup, no paywall.
Photo mosaic vs. photomosaic, what is the difference?
This is the most common confusion, and it is worth getting right before you pick a tool. A photo mosaic effect (this tutorial) takes your image and rebuilds it out of solid colour tiles. Think mosaic floor tile, stained glass, or a low-resolution pixel grid. The whole picture is made of itself, simplified.
A photomosaic (sometimes one word) rebuilds your image out of many tiny different photos. Each "tile" is itself a complete photo whose average colour matches that region of the target. Photomosaics need a large photo library and a different algorithm, and they are usually a paid commercial product. ASCII Magic does the tile-mosaic effect, not the photo-of-photos version. If you need photomosaics specifically, search for photomosaic-maker tools that include a photo library.
Tips for a strong mosaic
- Pick a subject with clear shapes. Mosaics simplify, so a photo whose subject is already simple (a face, a logo, a strong silhouette) will read after simplification.
- High contrast wins. A bright subject on a dark background gives the mosaic punch; flat, evenly lit scenes look muddy.
- Crop tight before you mosaic. Tile resolution is fixed, so detail lives or dies by what you put inside the frame. Crop to the subject.
- Pair a mosaic with a palette. Pure mosaic on a photo can feel "blurry-ish." Add a palette and the same mosaic becomes a graphic poster.
- Export at 4× for print. If you are printing, push the export to 4× so individual tiles are sharp. Screen exports look great at 1×.
Mosaic effect in Photoshop vs. browser
Photoshop has a Filter → Pixelate → Mosaic option that does a square-tile pixelate. It is fine for a quick effect but limited: no hex tiles, no palette mapping, no exporting at 4× without manual upscaling. Illustrator and After Effects have similar plugins, but all of them require the paid Adobe suite and an install. The browser version does the same thing in 30 seconds, free, with tile-shape choice and palette mapping baked in.
It is the same editor for 100+ styles
The mosaic effect is one of 100+ styles in the same editor. Once you have used the controls here, the same workflow turns a photo into pixel art, voxel cubes, dither, halftone dots, ASCII characters, glitch and more. Browse all 100+ styles here.