/TUTORIAL · ASCII ART
How to Make ASCII Art From a Photo
By Kailash · Updated June 8, 2026 · 3 min read
The short answer
Open a free browser-based ASCII art generator, drop in your photo, and choose the Characters style. Pick a character ramp (dense ramps like @#S08Xx capture more detail), raise contrast a little, then export as PNG or GIF. The whole thing takes under a minute, costs nothing, and your photo never leaves your device.
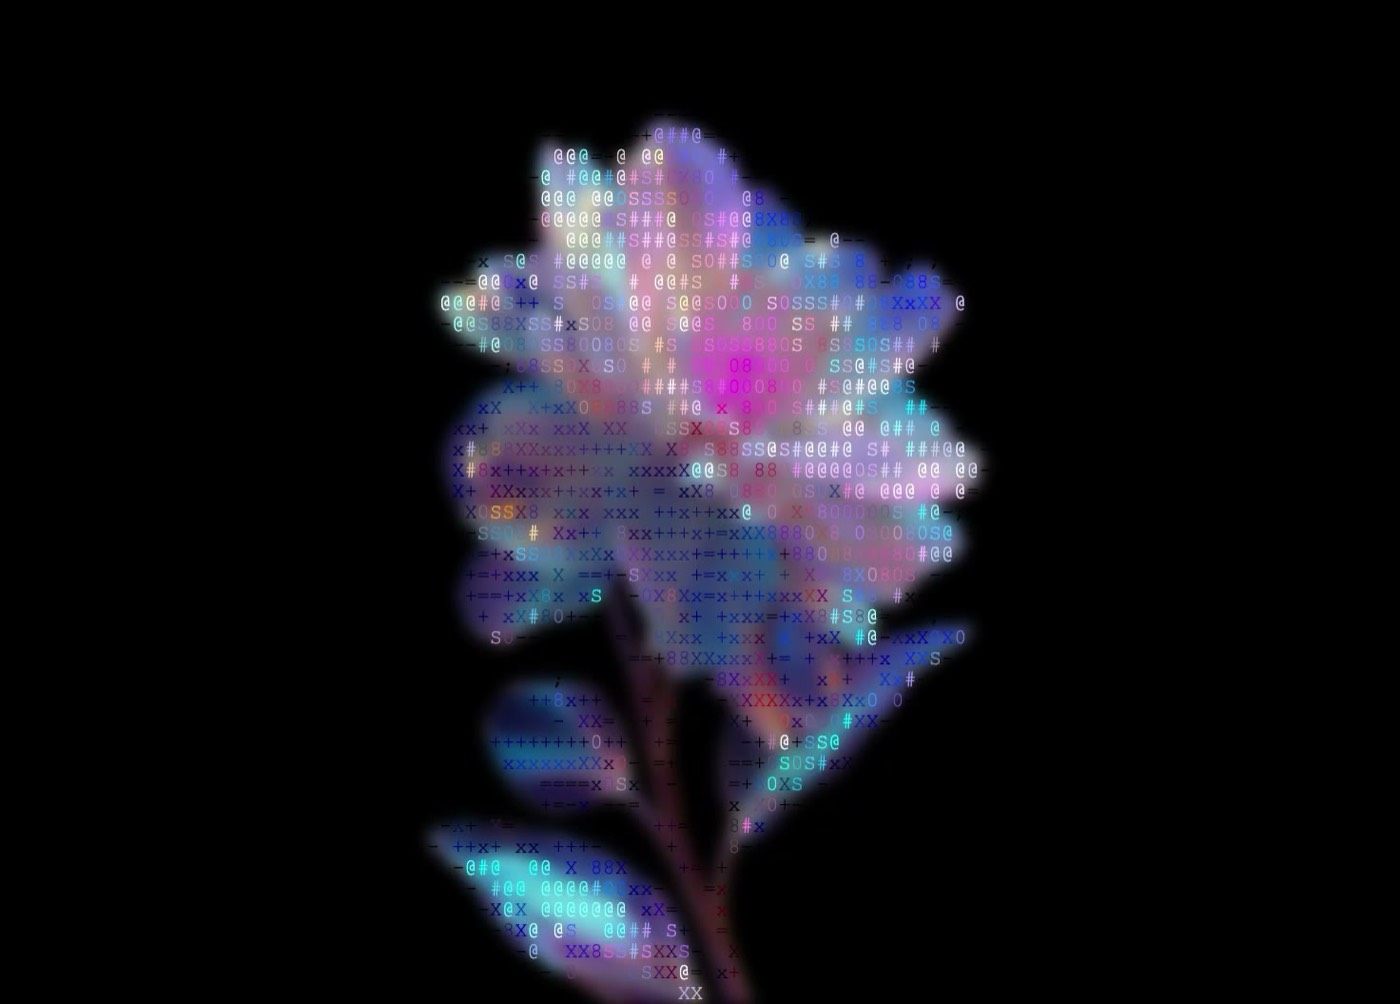
ASCII art turns a picture into an image made entirely of typed characters, the kind you'd see in old terminal demos and BBS art. You don't need Photoshop, a plugin, or any coding to make it. With a real-time editor you can drop a photo in and watch it become text in front of you. This guide walks through exactly how, and how to make it actually look good rather than a muddy mess of symbols.
What you'll need
Just a browser and a photo. We'll use ASCII Magic, it's free, needs no signup, and runs entirely on your device (nothing is uploaded). Photos with clear contrast and a recognisable subject convert best; busy, low-contrast images turn to noise.
Turn a photo into ASCII art in 5 steps
Open the editor and drop your photo
Open the ASCII Magic editor and drag any JPG, PNG, WebP or GIF onto the canvas (or click to browse). The image is processed locally with HTML5 Canvas, it never leaves your computer, which makes this safe for unreleased or personal photos.
Choose the Characters style
Select the Characters render mode. This is classic ASCII: the tool measures the brightness of each cell and replaces it with a character, dense characters for dark areas, sparse ones for light. It updates in real time, so every change you make is instant.
Pick a character ramp
The character ramp is the single biggest lever on the look. Use the Character Set dropdown to switch between three presets:
- Standard (@#S08Xx+=-;:,.), the balanced default; great all-round detail for photos.
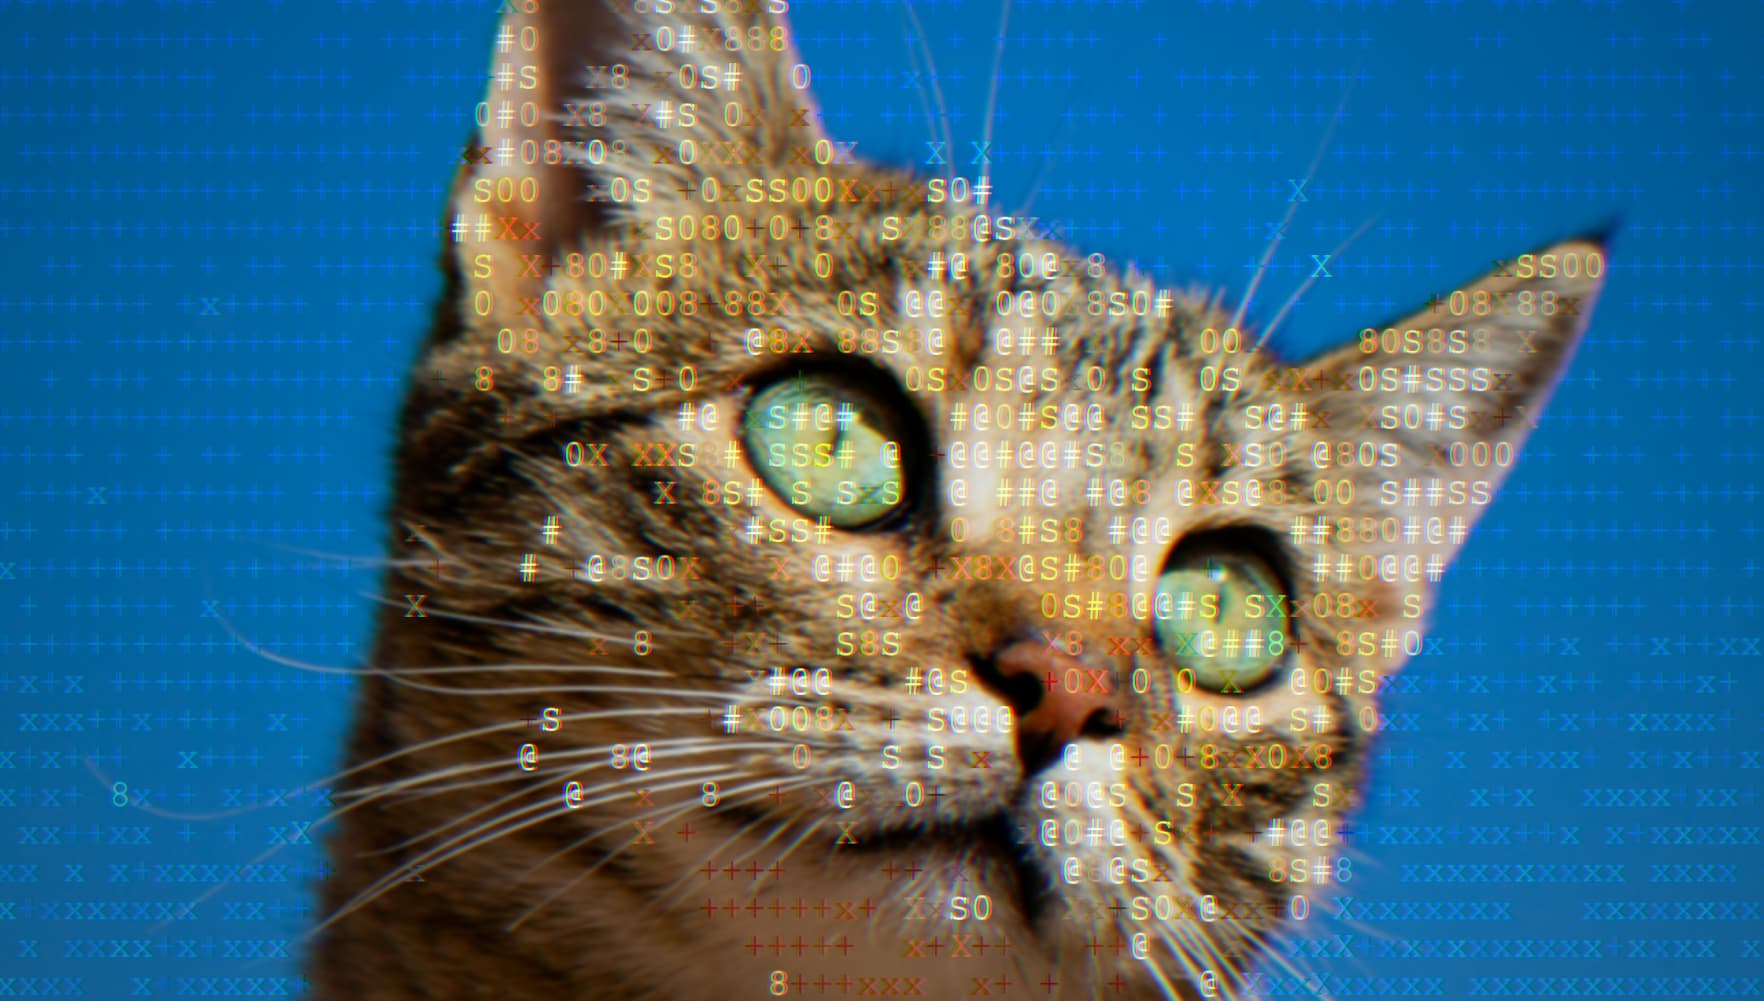
- Detailed, more glyphs, smoother gradients; best for faces and high-detail images.
- Minimal (. : -), clean, graphic, poster-like.
Or type your own into the Chars field, your name, a word, or any custom set. (For solid block fills █▓▒░, switch the Style to Block Characters.)
Tune contrast, density and edges
This is where good ASCII art is won. Three sliders matter most:
- Contrast, push it up to separate the subject from the background; ASCII has a limited tonal range, so contrast does a lot of work.
- Coverage / density, controls how much of the image is filled vs left as background.
- Edge emphasis, keeps outlines crisp so the subject stays recognisable even at low character counts.
Adjust the font size too: smaller characters mean more of them, which means more detail (and a bigger export).
Export your ASCII art
Hit export and choose PNG or JPG for a still, or animated GIF if you want motion. You can export at 1× to 4× the source resolution, a 1080p photo at 4× gives a 4320×2440 file, big enough for a poster or wallpaper. No watermark, ever.
Tips for ASCII art that actually looks good
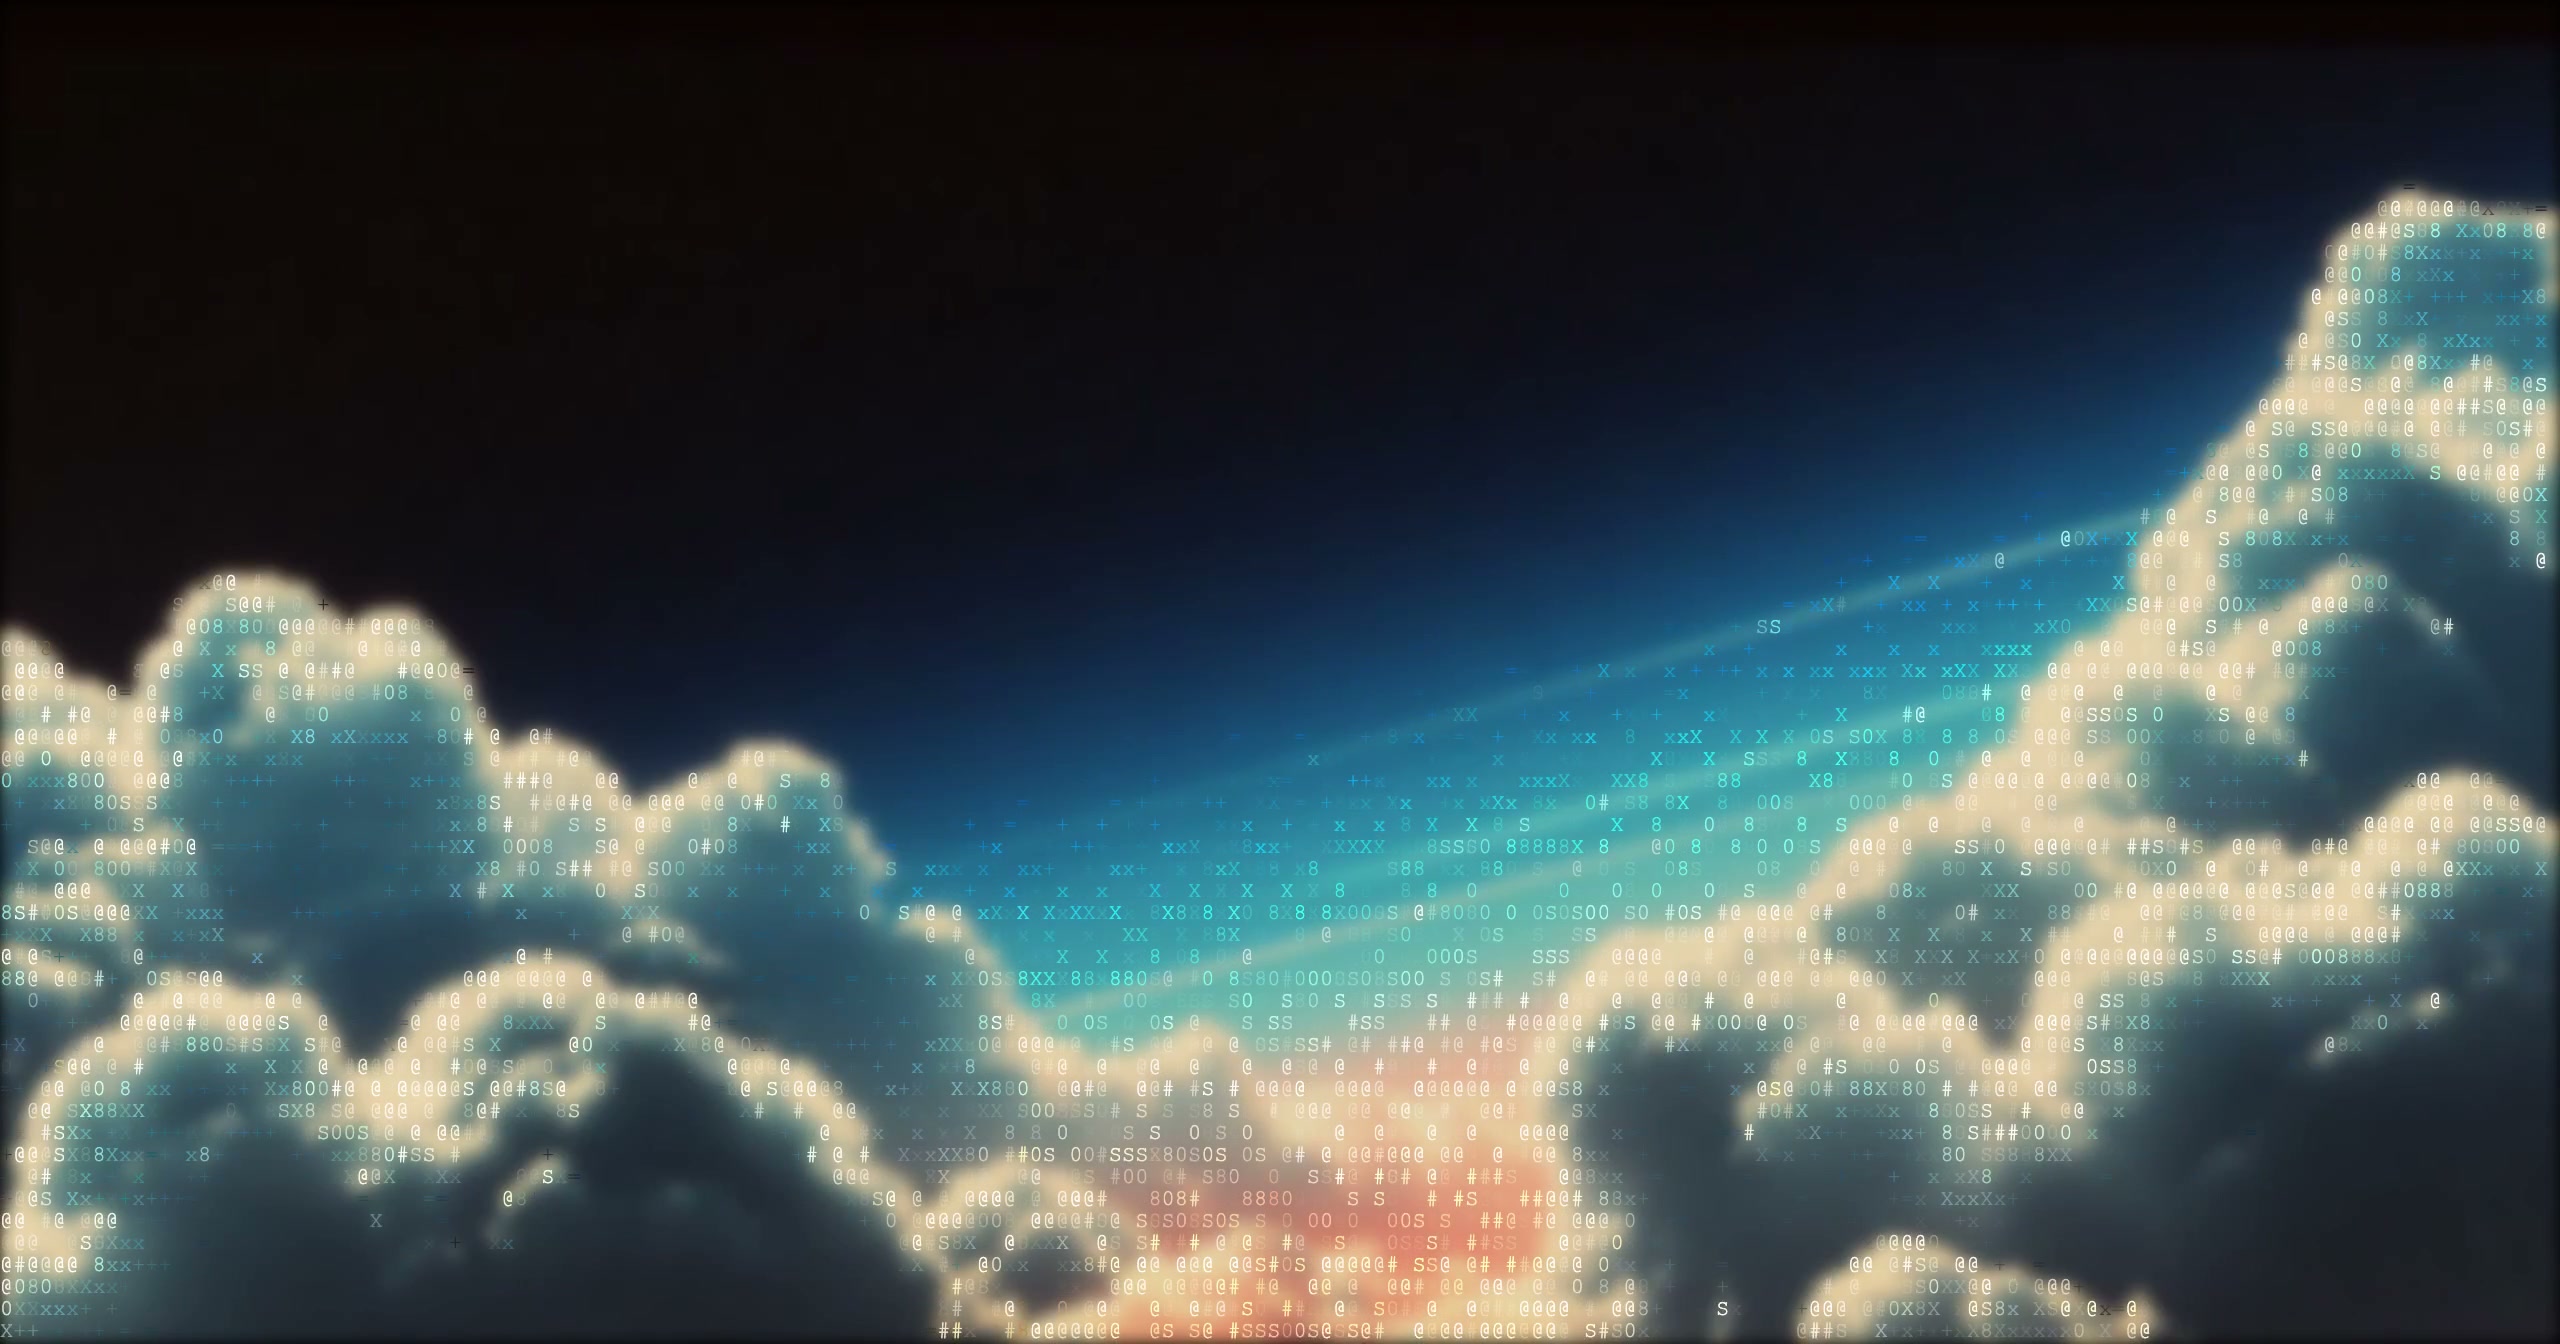
- Start with a high-contrast photo. A bright subject on a dark background (or vice versa) reads far better than a flat, evenly-lit scene.
- Crop tight. ASCII has limited resolution, fill the frame with your subject so detail isn't wasted on background.
- Match the ramp to the subject. Faces and detailed scenes want a dense ramp; logos and graphic shapes look sharper with a minimal one.
- Use a dark background mode for that authentic terminal glow, or a transparent background if you'll place the art on something else.
Can you make ASCII art from a video?
Yes, and it's one of the most fun things to do with it. Drop an MP4, MOV or WebM into the same editor, keep the Characters style, and every frame renders as ASCII. Export the result as a looping MP4 or GIF. If you want a walkthrough specifically for clips, our ASCII art guide covers the video workflow in more depth.
ASCII art is one of 13 styles
Characters is the classic look, but the same editor can turn your photo into pixel art, halftone dots, voxel cubes, a photo mosaic, glitch art and more, browse all 14 styles here. They share the same controls, so once you've learned ASCII you've learned all of them.