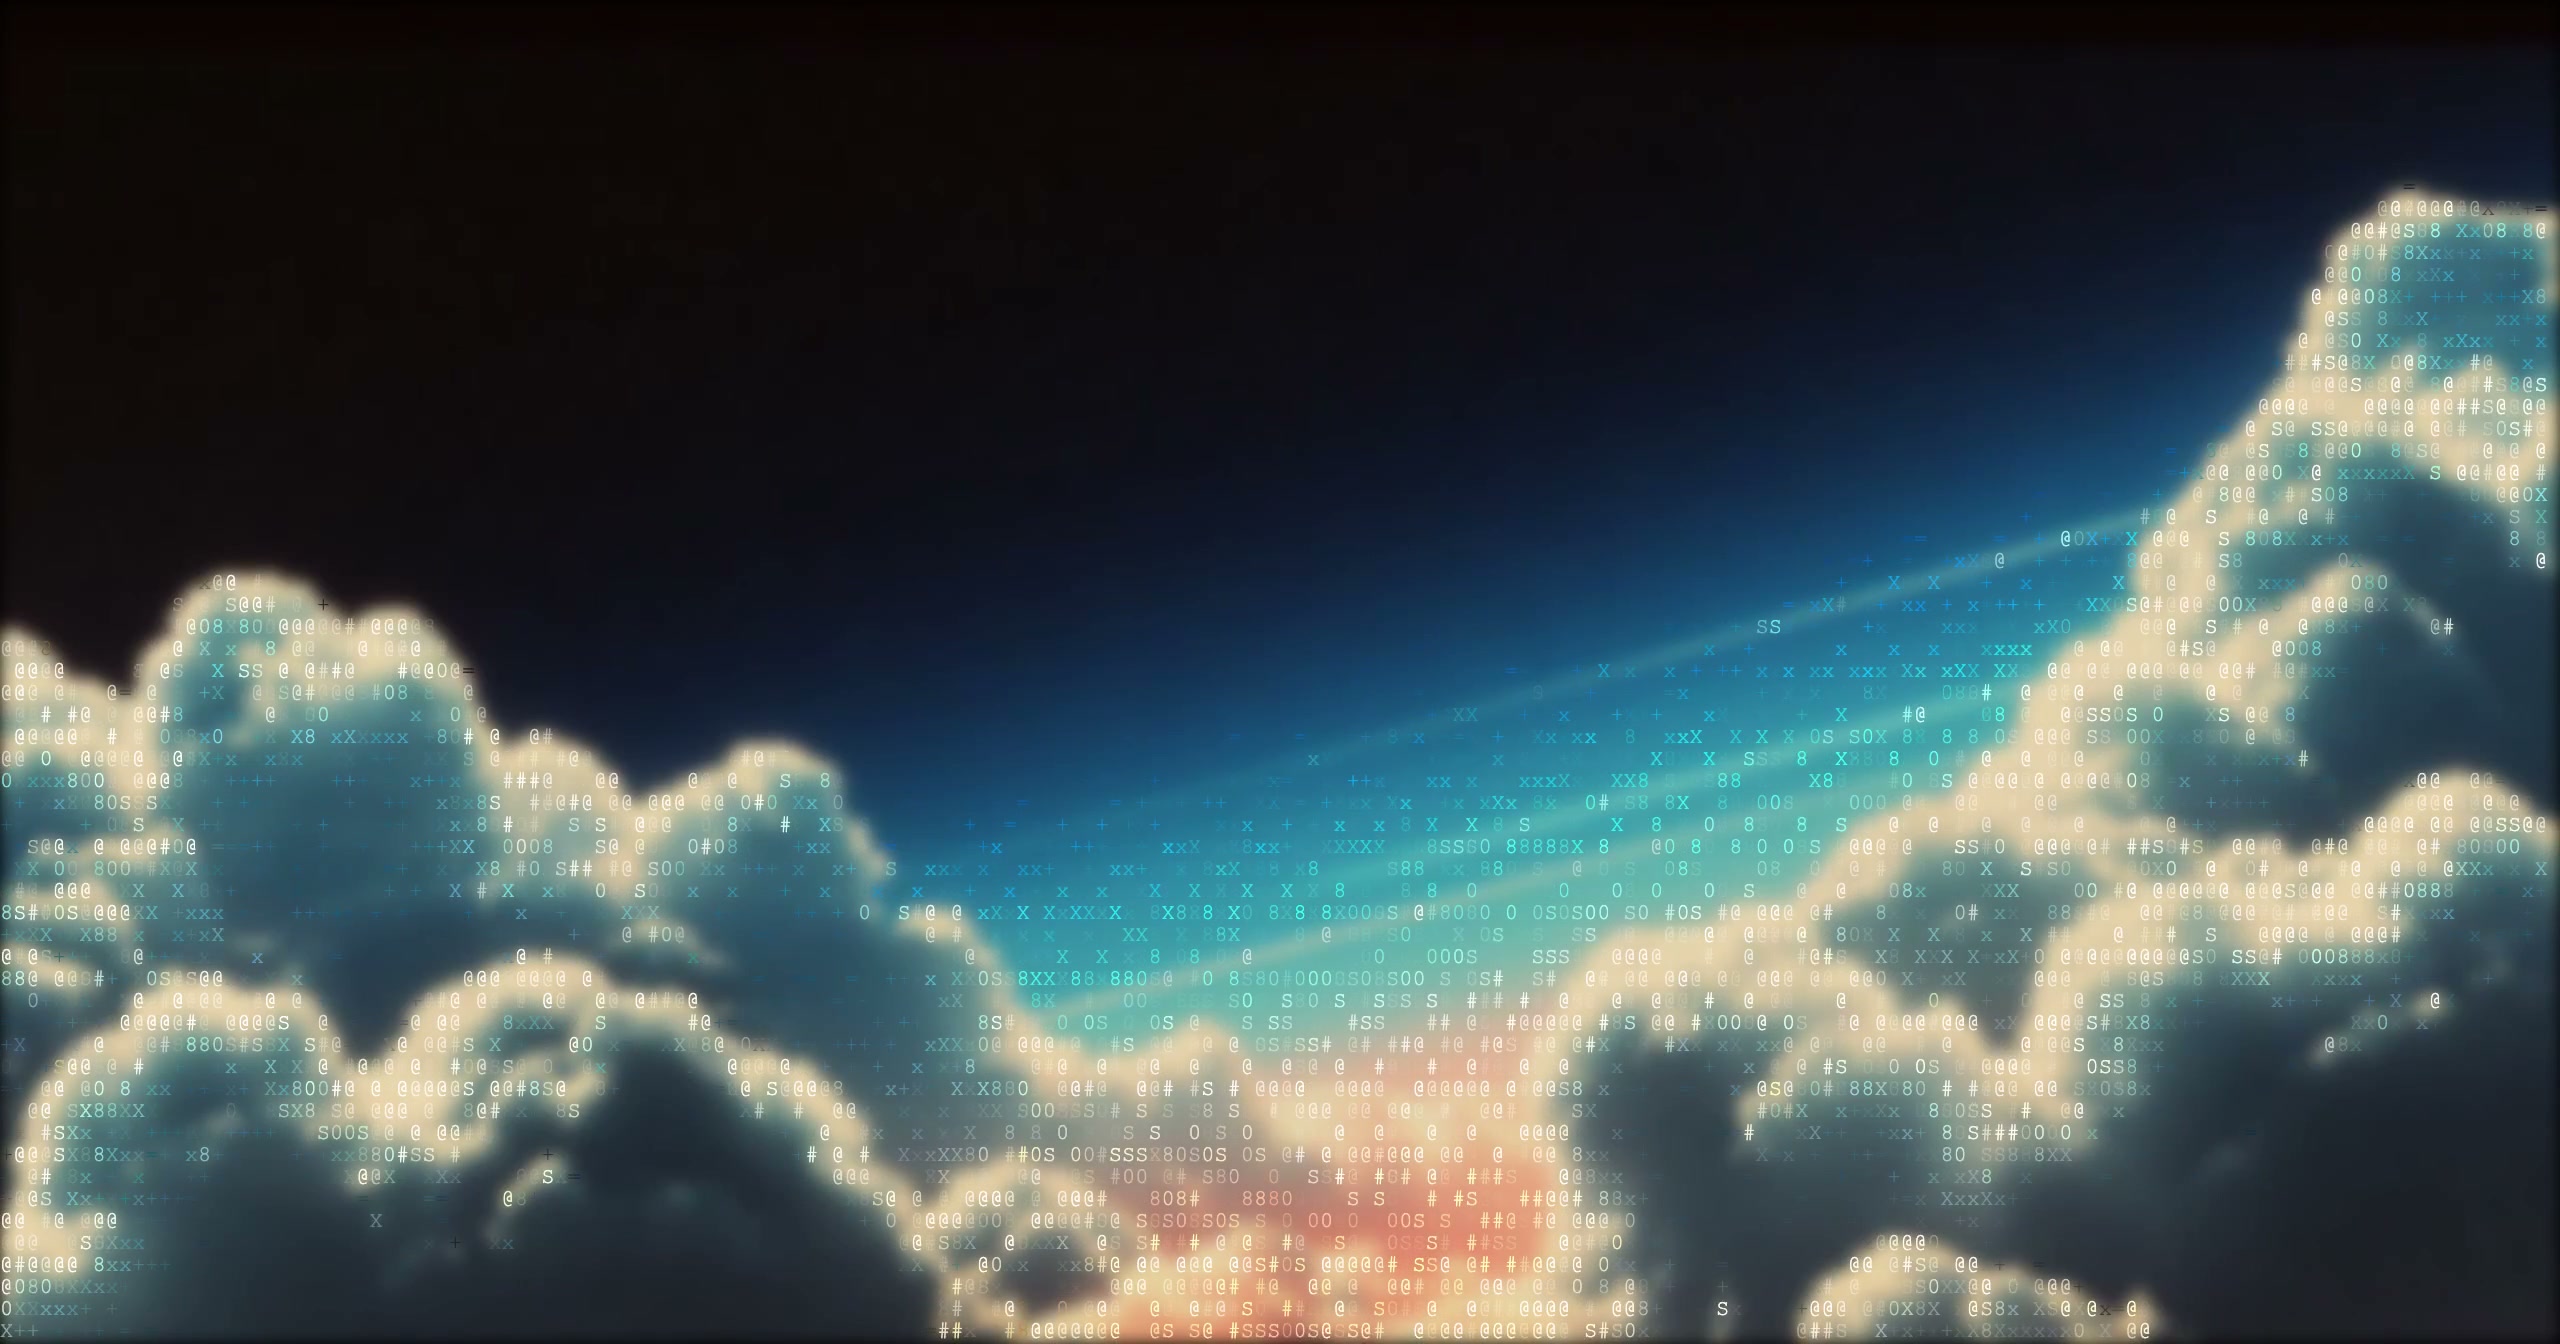
/TUTORIAL · VIDEO → ASCII
How to Convert a Video to ASCII Art
By Kailash · Updated July 13, 2026 · 7 min read
The short answer
Open a free browser-based ASCII tool, drop in your MP4, MOV or WebM, and pick a style, Characters for classic terminal text, Dots for halftone, or Dither for a 1-bit retro look. Every frame is converted automatically. Tune contrast and density, then export the result as an MP4 or GIF. The whole thing runs on your device, nothing is uploaded, and it's free with no signup and no watermark.
Converting a video to ASCII art used to mean a command-line tool, a Python script, or piping frames through ffmpeg by hand. It doesn't anymore. A real-time browser editor can take an ordinary clip, redraw every frame out of typed characters, and hand you back a downloadable video, all without an install, an account, or your footage ever leaving your computer. This guide walks through exactly how to do it, which styles hold up best in motion, and how to keep the result smooth instead of a flickering mess.
What you'll need
Just a browser and a short video file. We'll use ASCII Magic's video-to-ASCII converter, it's free, needs no signup, and decodes and renders entirely on your device with HTML5 Canvas, so the clip is never uploaded. MP4, MOV and WebM all work. Clips with clear contrast and a recognisable subject convert best; dark or busy footage turns to visual noise once it's reduced to characters.
How to convert a video to ASCII art in 6 steps
Open the editor and drop your video
Open the ASCII Magic editor and drag your MP4, MOV or WebM onto the canvas (or click to browse). The video decodes locally and starts playing back as a live ASCII preview straight away, every edit you make from here updates in real time, frame by frame.
Choose a render style
Pick how each frame is drawn. The four that read best in motion:
- Characters, the classic terminal look, brightness mapped to glyphs. Best all-rounder.
- Dots, a halftone dot grid; clean and graphic, great for logos and faces.
- Dither, a 1-bit, two-tone look (Game Boy, C64, black-and-white). Very stable frame to frame.
- Voxel, 3D cubes for an isometric, blocky animation.
You can switch styles at any time and the whole video re-renders instantly, so try a few.
Pick a character ramp or palette
For the Characters style, the character ramp is the biggest lever on the look. A dense ramp like @#S08Xx+=-;:,. captures the most tone; a minimal ramp like . : - looks cleaner and more graphic. For Dither, pick a palette instead, Game Boy green, C64, or pure 1-bit black-and-white. This single choice sets the entire mood of the clip.
Tune contrast, density and edges
Motion is less forgiving than a still, so a little tuning keeps the subject readable:
- Contrast, push it up so the subject separates cleanly from the background in every frame.
- Density / font size, smaller characters mean more of them and more detail, but a heavier render; bigger characters look chunkier and export faster.
- Edge emphasis, keeps outlines crisp so a moving subject doesn't dissolve when it slows down or speeds up.
Add post-FX (optional)
This is where an ASCII video stops looking like a filter and starts looking intentional. Layer on scanlines for a CRT/terminal feel, glitch for a VHS or datamosh vibe, or switch on color to sample tones from the source instead of going monochrome. Every effect renders across all frames live, so you see the finished motion before you commit.
Export as MP4 or GIF
Hit export and choose MP4 for a shareable video or animated GIF for a loop you can drop into a README, a tweet, or a Discord. There's no watermark, and stills export at up to 4× resolution if you want to pull a single hero frame out of the clip. That MP4-out step is the part most online ASCII tools skip, they only show a preview, so it's worth using one that renders the whole video end to end.
Which style looks best on video?
All of them work, but they don't all hold up equally in motion. Here's the honest breakdown:
- Characters is the safe choice, it's the look people mean when they say "ASCII video," and a dense ramp keeps detail through fast movement. Start here.
- Dither is the most stable in motion. Because it's only working with one or two tones, there's far less per-frame shimmer, which makes it ideal for longer clips and screen recordings. See the dither guide for palette options.
- Dots (halftone) is the most graphic and reads well even at small sizes, good for logos, titles, and talking-head footage.
- Voxel is the showpiece: 3D cubes give the clip an isometric, game-like feel, though it's the heaviest to render.

Tips for a smooth ASCII video
- Keep it short. Because every frame is rendered, a few seconds to ~30 seconds exports fast and stays smooth. Trim before you convert rather than after.
- Start with high-contrast footage. A bright subject on a dark background reads far better as characters than a flat, evenly lit scene.
- Fill the frame. ASCII has limited resolution, crop tight so detail lands on your subject, not the background.
- Pick stability over detail for long clips. Dither and a slightly larger character size reduce frame-to-frame flicker; tiny dense characters look amazing on a still but can boil in motion.
- Mind the export size. 4× is for print stills, not video, keep video exports at 1×–2× so the file stays manageable.
ASCII video vs. ASCII animation, what's the difference?
People search for both, and they're not the same thing. An ASCII video converts footage you already have, frame by frame, that's everything above. An ASCII animation is motion that's generated: you start from a single still image and the tool makes it move on its own. In ASCII Magic, switching on Animated mode makes a static image shimmer, scroll, or pulse, handy when you don't have a video but still want a moving asset for a banner or live wallpaper. Both paths export to MP4 or GIF, and you can read more about the conversion side in our video-to-ASCII guide.
Is it really free, and is my footage private?
Yes to both. There's no signup, no watermark, and no paywall on export. And because the decoding and rendering both happen in your browser with HTML5 Canvas, the video file never touches a server, it stays on your machine the entire time. That makes it genuinely safe for unreleased footage, personal clips, or client work, which is something most "upload your video" web tools can't promise.
It's the same editor for photos and 100+ styles
Everything here works on stills too, the video pipeline is the same engine as the photo-to-ASCII tool, just run across frames. Once you've dialled in a look you like, the same controls turn a photo into halftone dots, dither, voxel cubes, a mosaic, glitch art and more, browse all 100+ styles here. Learn one and you've learned them all.
Which video formats and sources work
The editor accepts any file your browser can decode, and how the clip is captured matters as much as its container. Here's the honest breakdown of source types and how well they convert.
| Source | Works? | Best style | Tip |
|---|---|---|---|
| MP4 (H.264) | Yes, direct drop | Characters | The default, plays everywhere on export |
| MOV / QuickTime | Yes, direct drop | Characters or Dots | iPhone captures convert cleanly |
| WebM (VP9) | Yes, direct drop | Characters | Great when the source was already web-encoded |
| Screen recording | Yes, converts especially well | Characters or Dots | High contrast + clear shapes = readable UI |
| YouTube clip | Indirect, save the MP4 first | Depends on footage | Trim to under 30s before you convert |
| GIF | Convert to MP4 first | Dither | Fewer tones in source = crisper ASCII |
| Live webcam | Record first, then drop | Characters | Talking-head footage reads well as ASCII |
Command line vs. browser: why the browser wins in 2026
The old way to convert a video to ASCII art was ffmpeg + Python. Classic open-source tools like joelibaceta/video-to-ascii and spoorn/media-to-ascii still do the job well, and they're excellent if you want to batch-process a folder or wire the conversion into a CI pipeline. For a one-off ASCII video, though, a browser tool is faster in every way that matters:
- Nothing to install. No Python version fight, no
brew install ffmpeg, no CLI flags to memorise. - Live preview. Swap styles, ramps and palettes and see the ASCII redraw frame-by-frame in real time. That is not something a CLI can give you.
- Local by default. The video is decoded with HTML5 Canvas and stays on your device, no server upload, no privacy trade-off.
- Rendered MP4 out. One click at the end gives you a standard H.264 file. No re-encoding pipeline to author.
Keep the CLI in your toolkit for scripted runs; reach for the browser (see the video-to-ASCII converter) for anything you'd otherwise open a video editor for.