/TUTORIAL · PHOTO → VOXEL
Voxel Art from a Photo, Free 3D Pixel Art Generator
By Kailash · Updated June 28, 2026 · 5 min read
The short answer
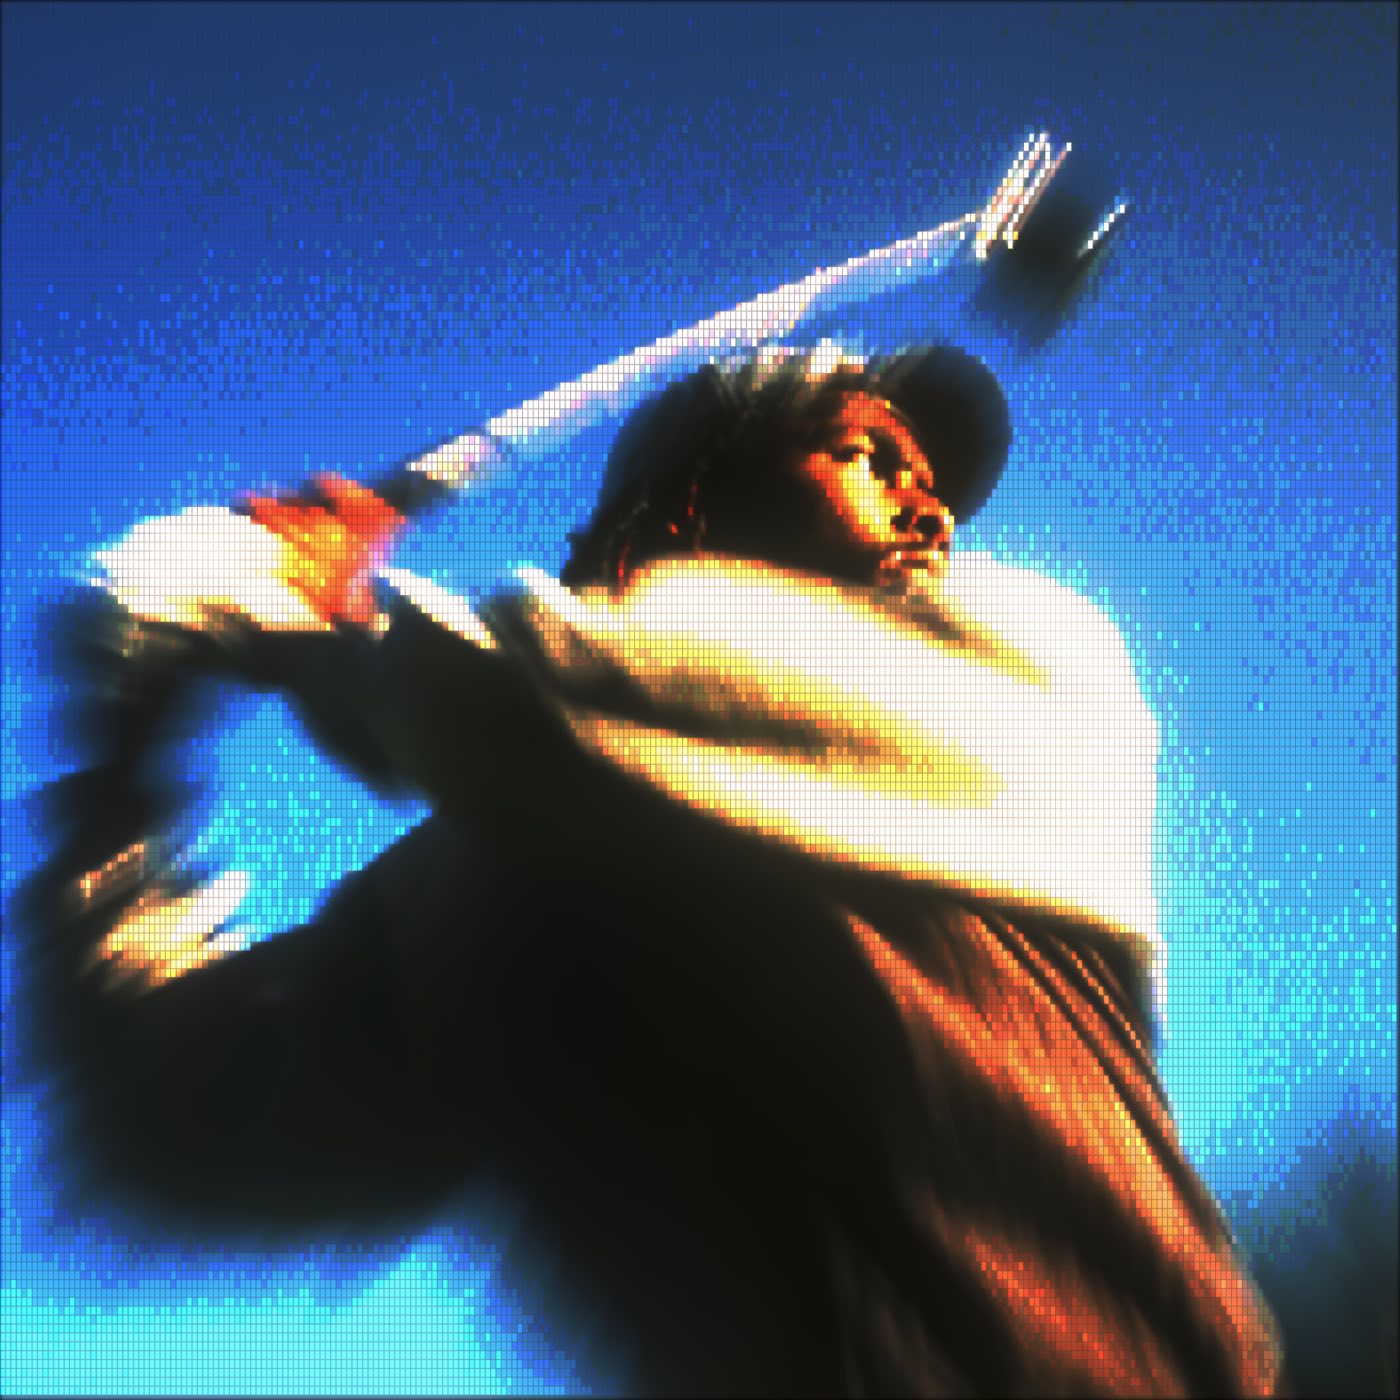
Open a free browser-based voxel art generator, drop in your photo, switch the render mode to Voxel. Every pixel region becomes a small 3D cube with per-face shading, rendered isometrically, the 3D pixel art look popularised by Minecraft and Crossy Road. Adjust cube size, outline and palette, then export PNG, GIF or MP4 at up to 4×. No 3D modeling, no MagicaVoxel install, no signup, no upload.
Voxel art usually means firing up MagicaVoxel or Blender and building a scene from scratch, cube by cube. That is great if you want full creative control, terrible if you just want voxel-style 3D pixel art from a photo you already have. A browser-based voxel art generator skips the modeling step: it takes your JPG or PNG and re-renders it as isometric 3D cubes, sampling each cube's colour from the source pixels and shading the visible faces automatically.
What is voxel art? (vs. pixel art)
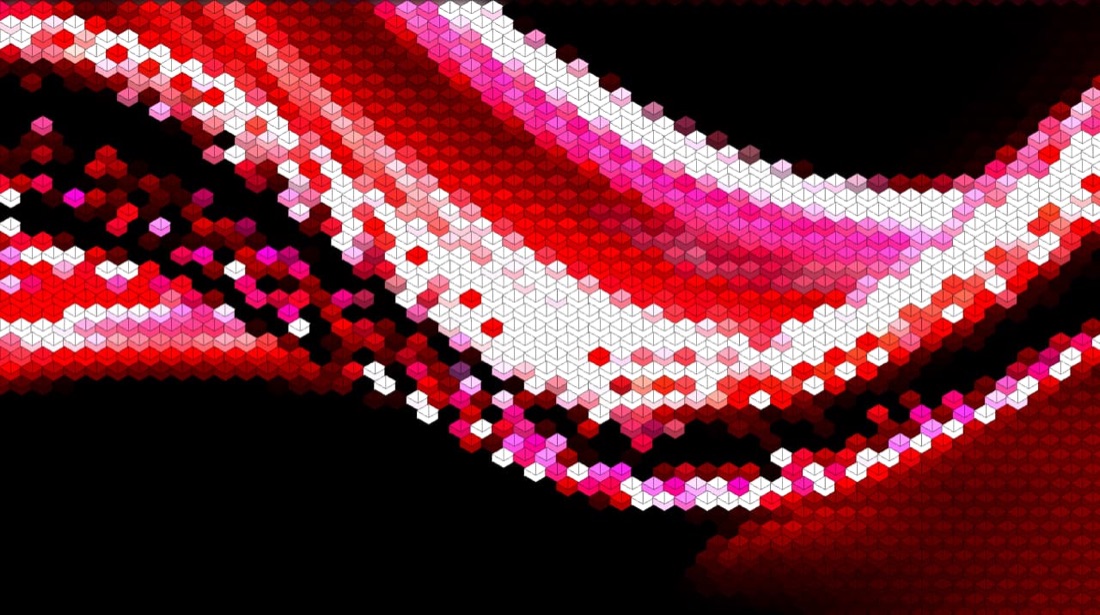
A voxel is a volumetric pixel, a small cube in 3D space, the way a pixel is a small square in 2D. Voxel art renders those cubes from an isometric or perspective camera, with per-face shading so the geometry reads as 3D. Compared to flat pixel art, voxel art has depth, dimensionality, and a chunky game-engine feel. Minecraft is the canonical example; Crossy Road, Cube World, and countless indie games use the same aesthetic. The /styles/voxel page has live examples.
How to make voxel art from a photo in 6 steps
Open the editor and drop your photo
Drop your JPG or PNG onto the ASCII Magic editor. The image is decoded locally and starts rendering.
Switch the render mode to Voxel
Pick Voxel from the styles rail. The photo is immediately rendered as isometric 3D cubes, each cube the average colour of the region it covers, with light and dark faces giving it dimensionality.
Pick a cube size
Cube size is the biggest lever. Larger cubes give a chunky Minecraft / Crossy Road feel. Smaller cubes preserve detail for portraits and landscapes. Start medium and lower until the subject reads chunky.
Tune outline and shading
An outline around each cube makes the voxel art read graphic at a glance. Per-face shading contrast controls how much depth you see; push it up so the 3D shape is obvious.
Apply a palette (optional)
Layer Game Boy, Pico-8, NES or a custom palette to lock the voxel art to a limited colour vocabulary, very era-correct for an 8-bit voxel feel.
Export PNG, GIF or MP4
Export at up to 4× for crisp voxel-art prints, animated GIF for loops, or MP4 if the input was a video.
Voxel art vs. MagicaVoxel vs. Blender
MagicaVoxel is for building voxel scenes by hand, cube by cube. It is excellent for creative control and from-scratch art, but it is not a photo converter. Blender is general 3D modeling; it can do voxels but is overkill for this. ASCII Magic is the photo-conversion case: drop a photo, get voxel art, no modeling. Pick the right tool for the job.
Tips for strong voxel art
- Pick photos with clear silhouettes. Voxel art preserves shape better than colour, so anything with a recognisable silhouette (a face, a logo, a hero pose) reads strongly.
- Go chunkier than you think. The voxel look gets stronger as cube count drops. Start chunky.
- Add outline for graphic clarity. Outlined voxel art reads as a poster; un-outlined voxel art reads as a render. Both work, depending on what you want.
- Use a palette for that Minecraft feel. A modern photographic palette feels "rendered." A Pico-8 or custom 8-colour palette feels "game art."
It is the same editor for 100+ styles
Voxel is one of 100+ styles in the same editor. Once you have used the controls, you can turn the same photo into flat pixel art, mosaic, dither, halftone dots or ASCII characters. Browse all 100+ styles here.
Voxel vs pixel art vs LEGO, what's the difference?
All three turn a photo into blocks, but they read very differently, and ASCII Magic offers each as its own style so you can try them on the same image:
- Voxel renders the picture as stacked 3D cubes in isometric perspective, so it reads with depth and shading, like a Minecraft or Crossy Road scene. Best when you want a sculptural, three-dimensional feel.
- Pixel art is flat: each cell becomes a single square of solid colour on a 2D grid, the classic 8-bit videogame look. Best for clean retro sprites and wallpapers.
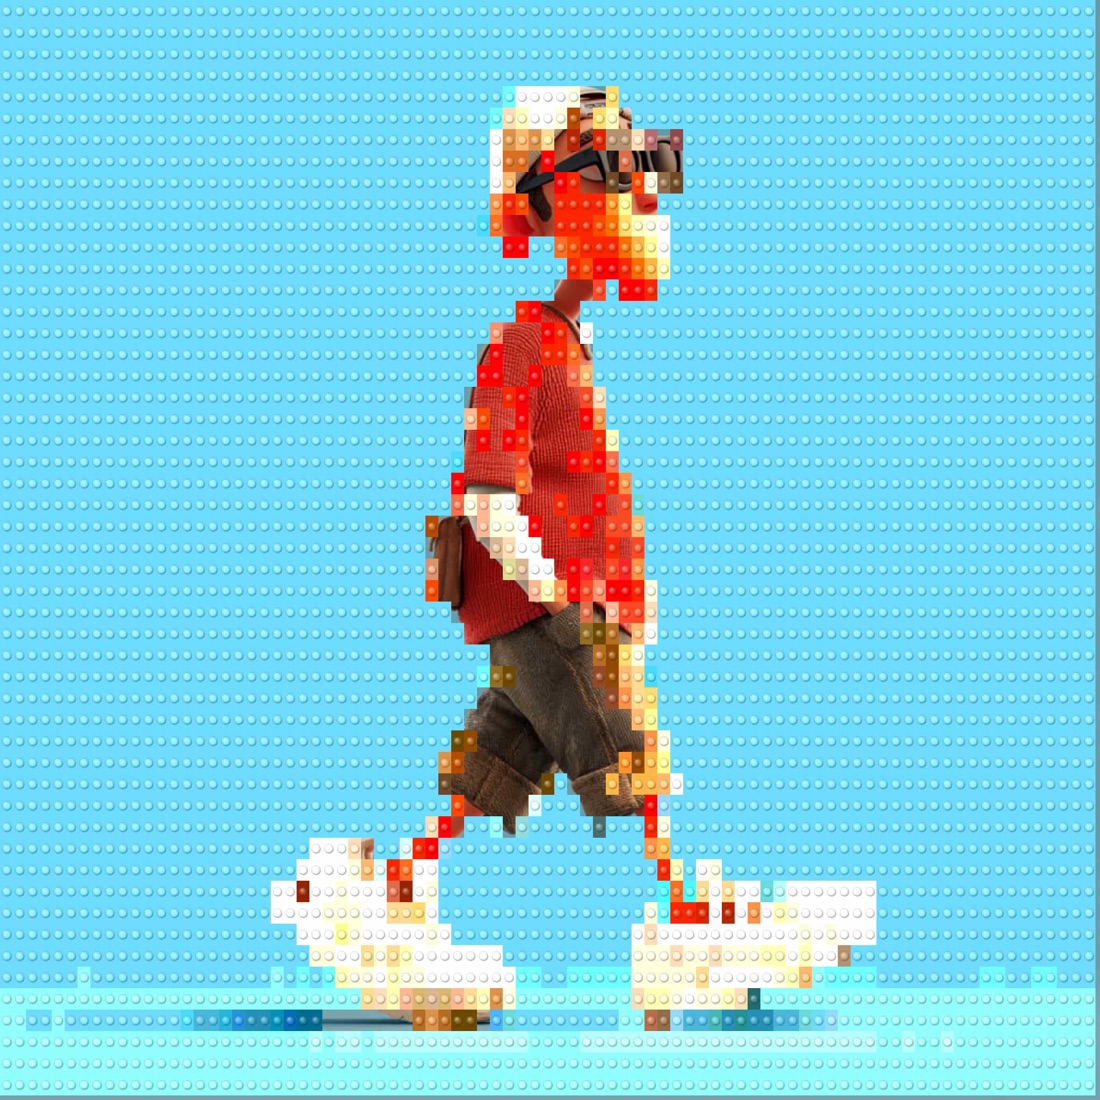
- LEGO keeps the 2D grid but draws each cell as a studded brick with a highlight and shadow, so it reads as a physical LEGO mosaic. Best for a playful, toy-like poster.
If your image has strong shapes and you want it to feel like an object, choose Voxel. If you want it to feel like a game screen, choose Pixel Art. If you want it to feel like something you could build on a table, choose LEGO. They share the same source and controls, so switching between them to compare takes one click.
Choosing a cube size
Cube size is the single control that most changes a voxel result. It sets how many cubes the image is divided into, trading detail against the chunky, blocky character that makes voxel art appealing.
- Large cubes (fewer of them) give a bold, abstract, unmistakably blocky result. Faces and logos survive; fine detail does not. Good for icons and thumbnails.
- Medium cubes are the sweet spot for most portraits and product shots, enough cubes to recognise the subject, few enough to still read as voxels.
- Small cubes (many of them) preserve detail and start to look like a smooth render, at which point the voxel effect fades. Use small cubes only on high-resolution sources where you still want visible cubes.
Start medium, then step the cube count down until the subject is clearly readable, that is usually the best-looking result.