/TUTORIAL · JAVASCRIPT
How to Convert an Image to ASCII Art in JavaScript
By Kailash · September 27, 2026 · 7 min read
The short answer
Draw the image onto a <canvas> scaled down to the number of columns you want, read the pixels with getImageData, turn each pixel into brightness, and swap it for a character from a dark-to-light ramp like @%#*+=-:. plus a space. Squash the rows by about half so monospace characters don't stretch the result. About 60 lines, no libraries, nothing uploaded.
ASCII art used to live in IRC banners, README headers and the loading screens of software that took itself a little less seriously. I'm a designer and I build ASCII Magic, so I spend an unreasonable amount of time turning images into other images, and ASCII is still the one I come back to.
The nice part is how small the core is. This post builds the whole pipeline from scratch, in the browser, with nothing but a canvas and the pixel data it hands you. Every ASCII output below is the real result of the code in this post.
The mental model
An image is a grid of pixels. Each pixel has a brightness. ASCII art swaps each small block of the image for a character whose visual density matches that brightness: a dense @ where the image is dark, a sparse . where it's light, a space where it's brightest. Everything below is plumbing to get from "an image" to "a brightness per cell" to "a character per brightness."
Step 1: Load an image onto a canvas
Three elements: a file input, a hidden canvas to do the pixel work, and a <pre> to print into.
<input type="file" id="file" accept="image/*" />
<canvas id="canvas" hidden></canvas>
<pre id="output"></pre>
When a file is picked, load it into an Image and hand it to the renderer. URL.createObjectURL gives a local reference to the file, so nothing leaves the page.
const fileInput = document.getElementById("file");
const canvas = document.getElementById("canvas");
const ctx = canvas.getContext("2d");

fileInput.addEventListener("change", (e) => {
  const img = new Image();
  img.onload = () => renderAscii(img);
  img.src = URL.createObjectURL(e.target.files[0]);
});
Step 2: Downsample by drawing small
Here's the move that makes the rest easy. Instead of reading millions of pixels and averaging them into blocks by hand, let the canvas do it: draw the image scaled down to the number of columns you want, and every canvas pixel already is one character cell.
function renderAscii(img) {
  const cols = 120; // ASCII "resolution": 80 is chunky, 200 is fine
  const scale = cols / img.width;
  const rows = Math.floor(img.height * scale);

  canvas.width = cols;
  canvas.height = rows;
  ctx.drawImage(img, 0, 0, cols, rows);

  const { data } = ctx.getImageData(0, 0, cols, rows);
  // data is a flat array: [r, g, b, a, r, g, b, a, ...]
}
getImageData returns a Uint8ClampedArray where every four entries are one pixel's red, green, blue and alpha, each 0 to 255. cols is the single knob that controls detail.
Step 3: Turn each pixel into brightness
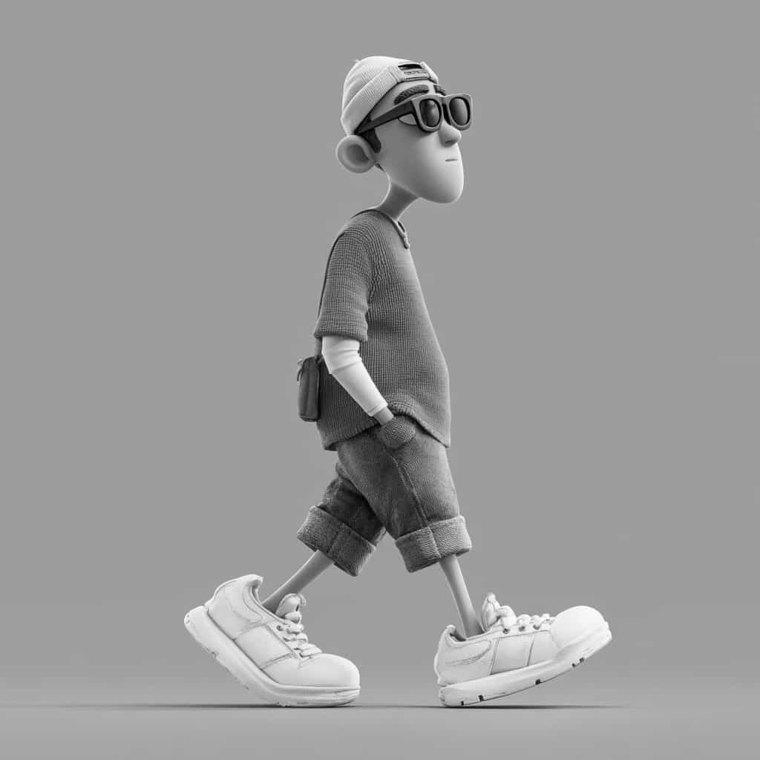
Eyes don't weigh red, green and blue equally (we're most sensitive to green), so a naive (r + g + b) / 3 looks muddy. Use the standard luminance weights:
function brightness(r, g, b) {
  return 0.299 * r + 0.587 * g + 0.114 * b; // 0 to 255
}
Step 4: Map brightness to a character ramp
A ramp is a string of characters ordered from densest to lightest. Index into it with each pixel's brightness:
const ramp = "@%#*+=-:. "; // dark -> light

function charFor(b) {
  const i = Math.floor((b / 255) * (ramp.length - 1));
  return ramp[i];
}
One decision up front: this ramp assumes dark text on a light background (more ink reads darker). If you render light text on a dark terminal, reverse the string, otherwise your portrait comes out as a photo negative. Now walk the grid:
let ascii = "";
for (let y = 0; y < rows; y++) {
  for (let x = 0; x < cols; x++) {
    const i = (y * cols + x) * 4;
    ascii += charFor(brightness(data[i], data[i + 1], data[i + 2]));
  }
  ascii += "\n";
}
document.getElementById("output").textContent = ascii;
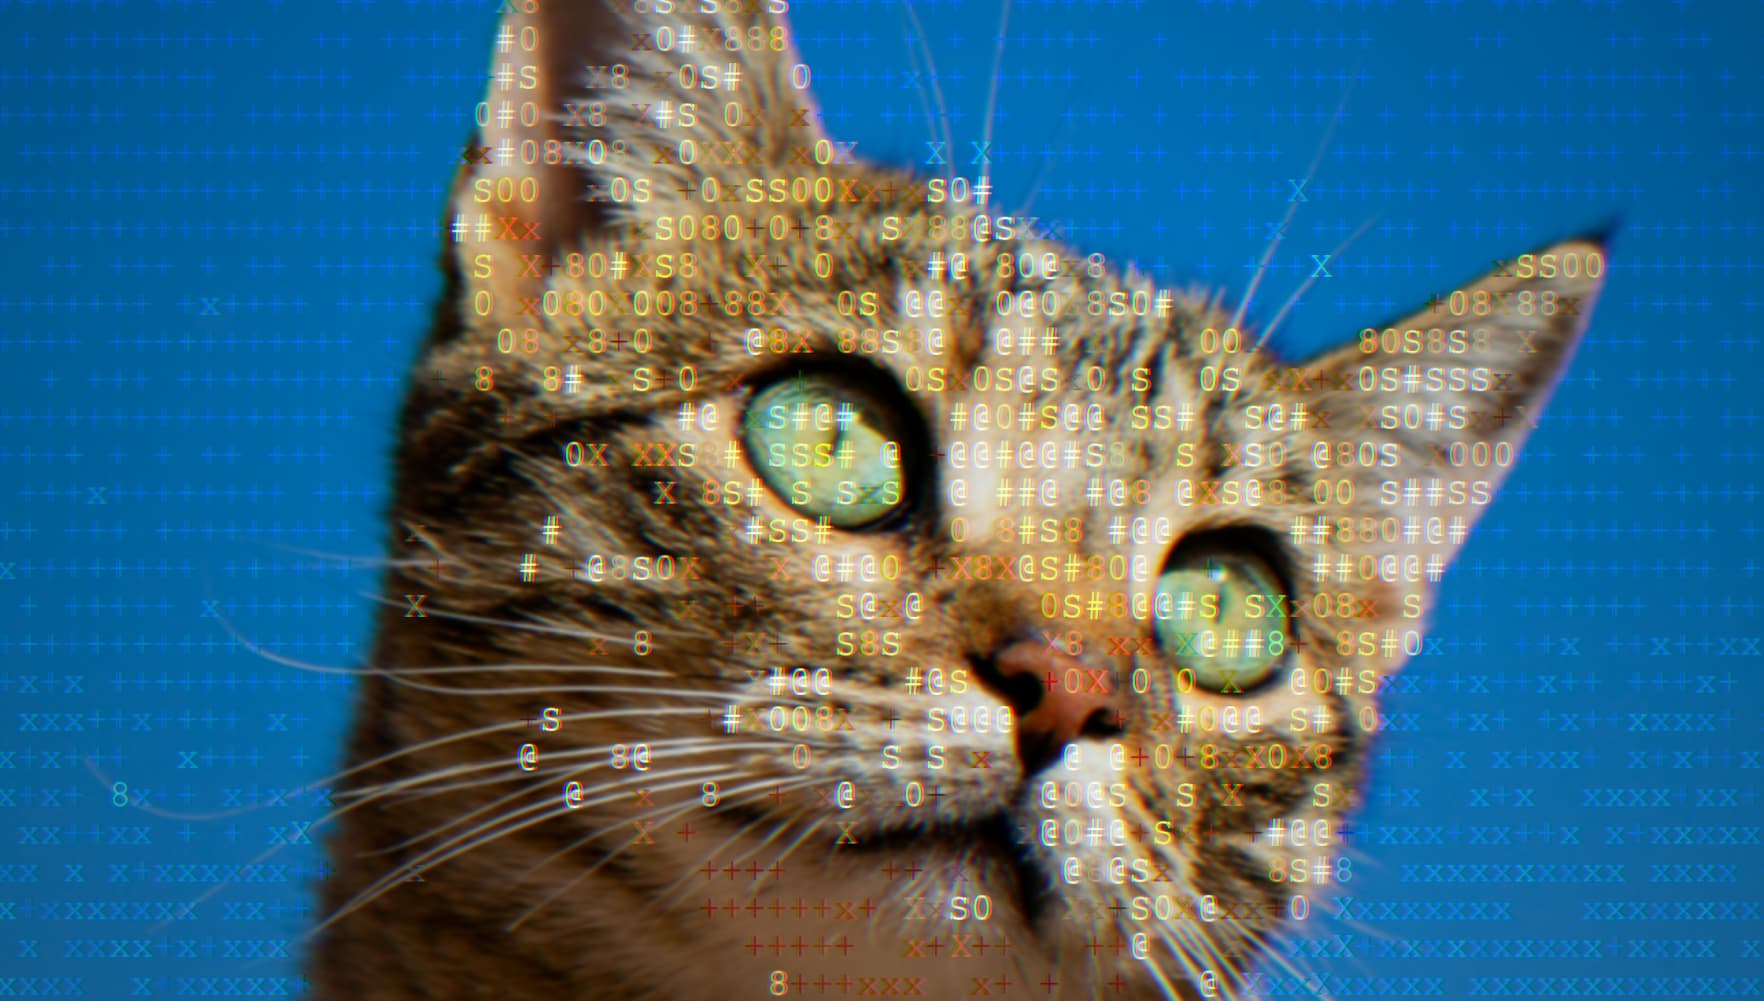
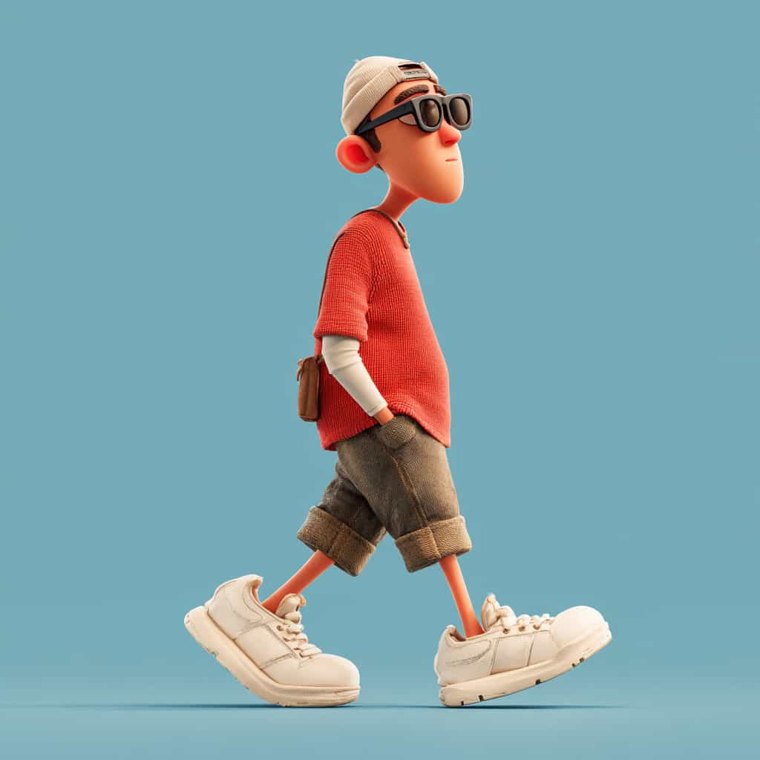
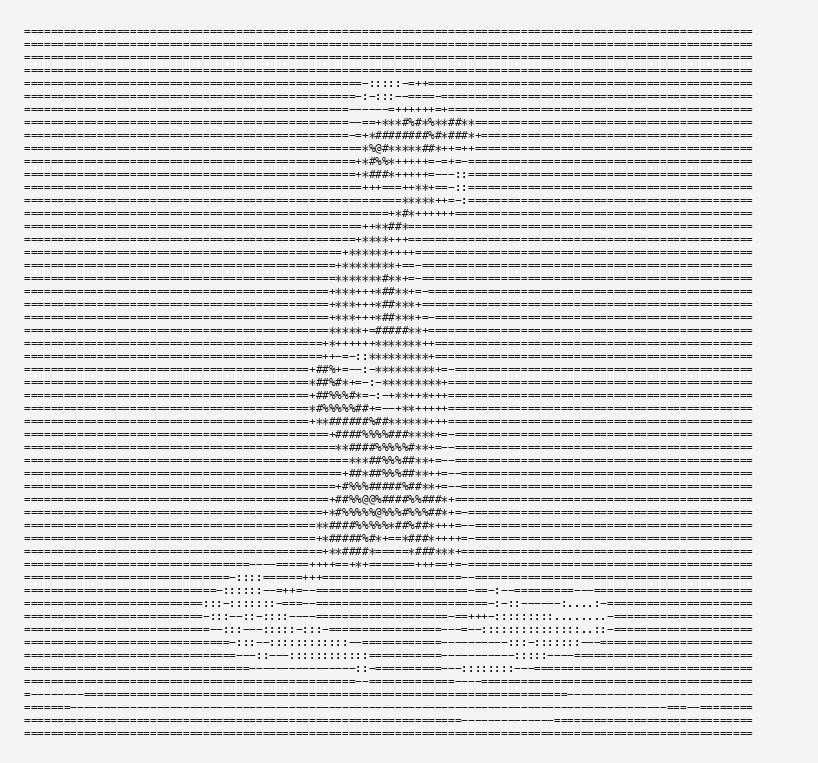
======================================================== ======================================================== ======================================================== ======================================================== ==========================-::-========================== =========================-:::=========================== =========================---=+++======================== =========================-=+*###**+===================== ==========================+#######*===================== ==========================#%**##+++===================== ==========================*%*++========================= =========================+##*++=-:====================== ==========================++++++-:-===================== =============================+*+=-====================== ============================+**++======================= ==========================+*#*========================== ==========================+**+========================== =========================***++========================== ========================+***+=========================== ========================*****=-========================= ========================*****+========================== =======================+*++##*========================== =======================+*++***+========================= =======================+*++##*+========================= =======================+**+*#**========================= =======================+=-+****+======================== ======================+*=--****+======================== ======================#%+-:+****======================== ======================*%%+--****======================== ======================#%%#+-=+++======================== ======================*%%##++*++======================== =======================*##%%#**+======================== =======================+##%%##*+======================== ========================+*#%%#*+-======================= =========================*##%#*+-======================= ========================+###%#*+======================== ========================*%%####*=-====================== =======================+#%%%##%#*======================= =======================*#%%%%%%#*=-===================== ======================*##%%#*##*+=-===================== ======================+*###+=*#*++====================== =======================+*#*==+#**======================= =================--===++=+============================== ================::-==+============-===================== ==============-:::-=+-============--:-====--============ =============-:::::-=-==============-:::::..-=========== ==============::-:::---===========+=:::::...:=========== ==============-::-:::::-========---::::::::::=========== ================::--:::::-======-------:::--============ =================-:-::::::-=====------::--============== =================--------:-=====--:::--================= ==========================-====================-======== ----=====================================--------------- ====---------------------------------------------==-==== ==================================-------=============== ========================================================
Step 5: The gotcha that stretches every first attempt
That output is stretched tall, and it's not obvious why. Monospace characters aren't square: a character cell is roughly twice as tall as it is wide. So a grid that's correct in pixels becomes about 2x too tall once it's made of characters. The fix is one number, squash the rows when you compute them:
const rows = Math.floor(img.height * scale * 0.5); // font aspect fixExactly 0.5 isn't magic; it depends on the font. Anywhere from 0.45 to 0.55 covers most monospace stacks, so tune it once against your CSS.
========================================================
========================================================
==========================-::===========================
=========================-==+***+++=====================
==========================*#*###**+=====================
=========================+##*++==-======================
==========================++++*+=-======================
===========================+**+++=======================
=========================+***+==========================
========================+****===========================
========================**+***==========================
=======================+*++*#*+=========================
=======================++++****=========================
======================*#+--+***+========================
======================*%%*=-+*++========================
======================+####****+========================
========================*##%%#*+========================
========================+###%#*+========================
=======================+#%%%####+=======================
======================+*#%%%*##*+=-=====================
======================+**#*+=+#*++======================
================-:-===+==+==============================
==============-:::--=-==============------::-===========
==============-::-:::---========-==-::::::..:===========
================----::::::-=====------:-----============
===================--------=====-------=================
==============================-=========----------=-====
========================================================
Step 6: Make it usable
Tighten the styling so the characters pack into a solid image, and give people a way to copy it:
#output {
  font-family: monospace;
  font-size: 6px;
  line-height: 6px;
  letter-spacing: 0;
  white-space: pre;
}
copyBtn.addEventListener("click", () => {
navigator.clipboard.writeText(document.getElementById("output").textContent);
});
That's the whole thing: load, downsample, brightness, ramp, render. No dependencies, and it never touches the network.
Why your output might look muddy
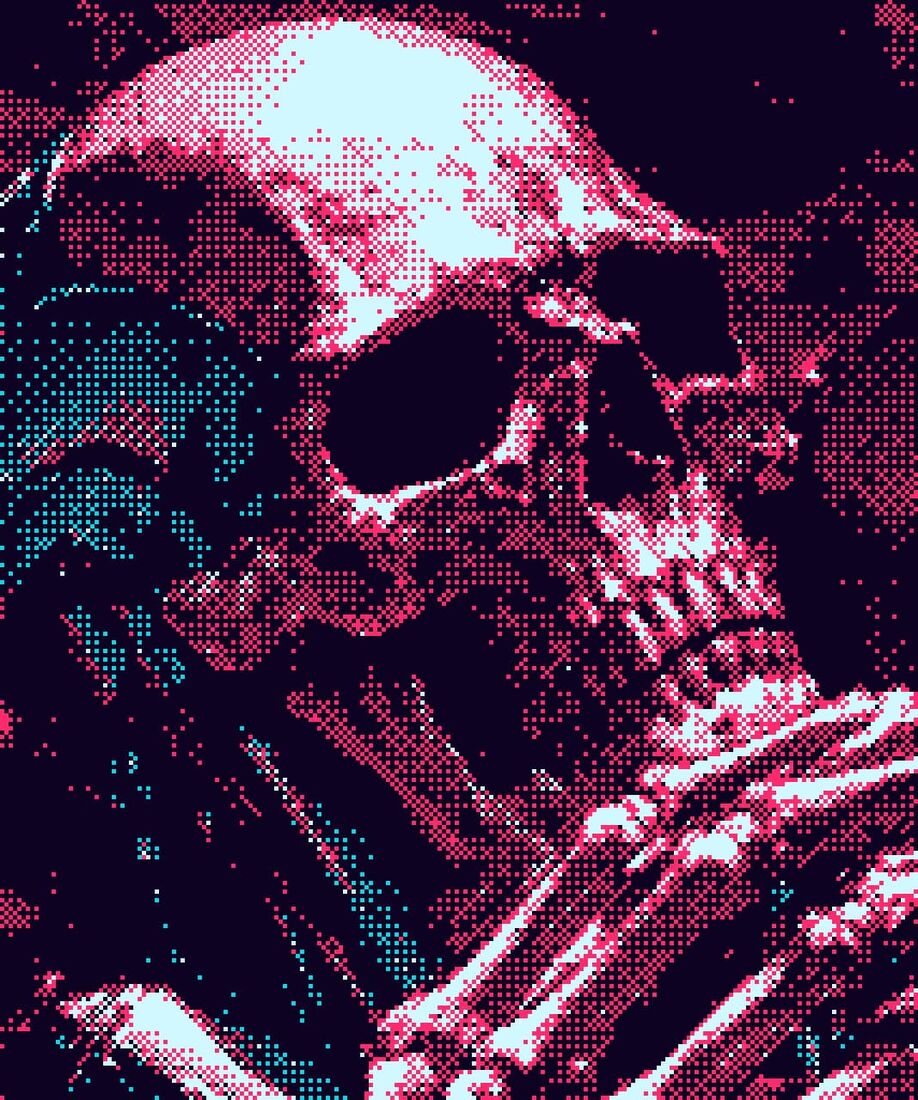
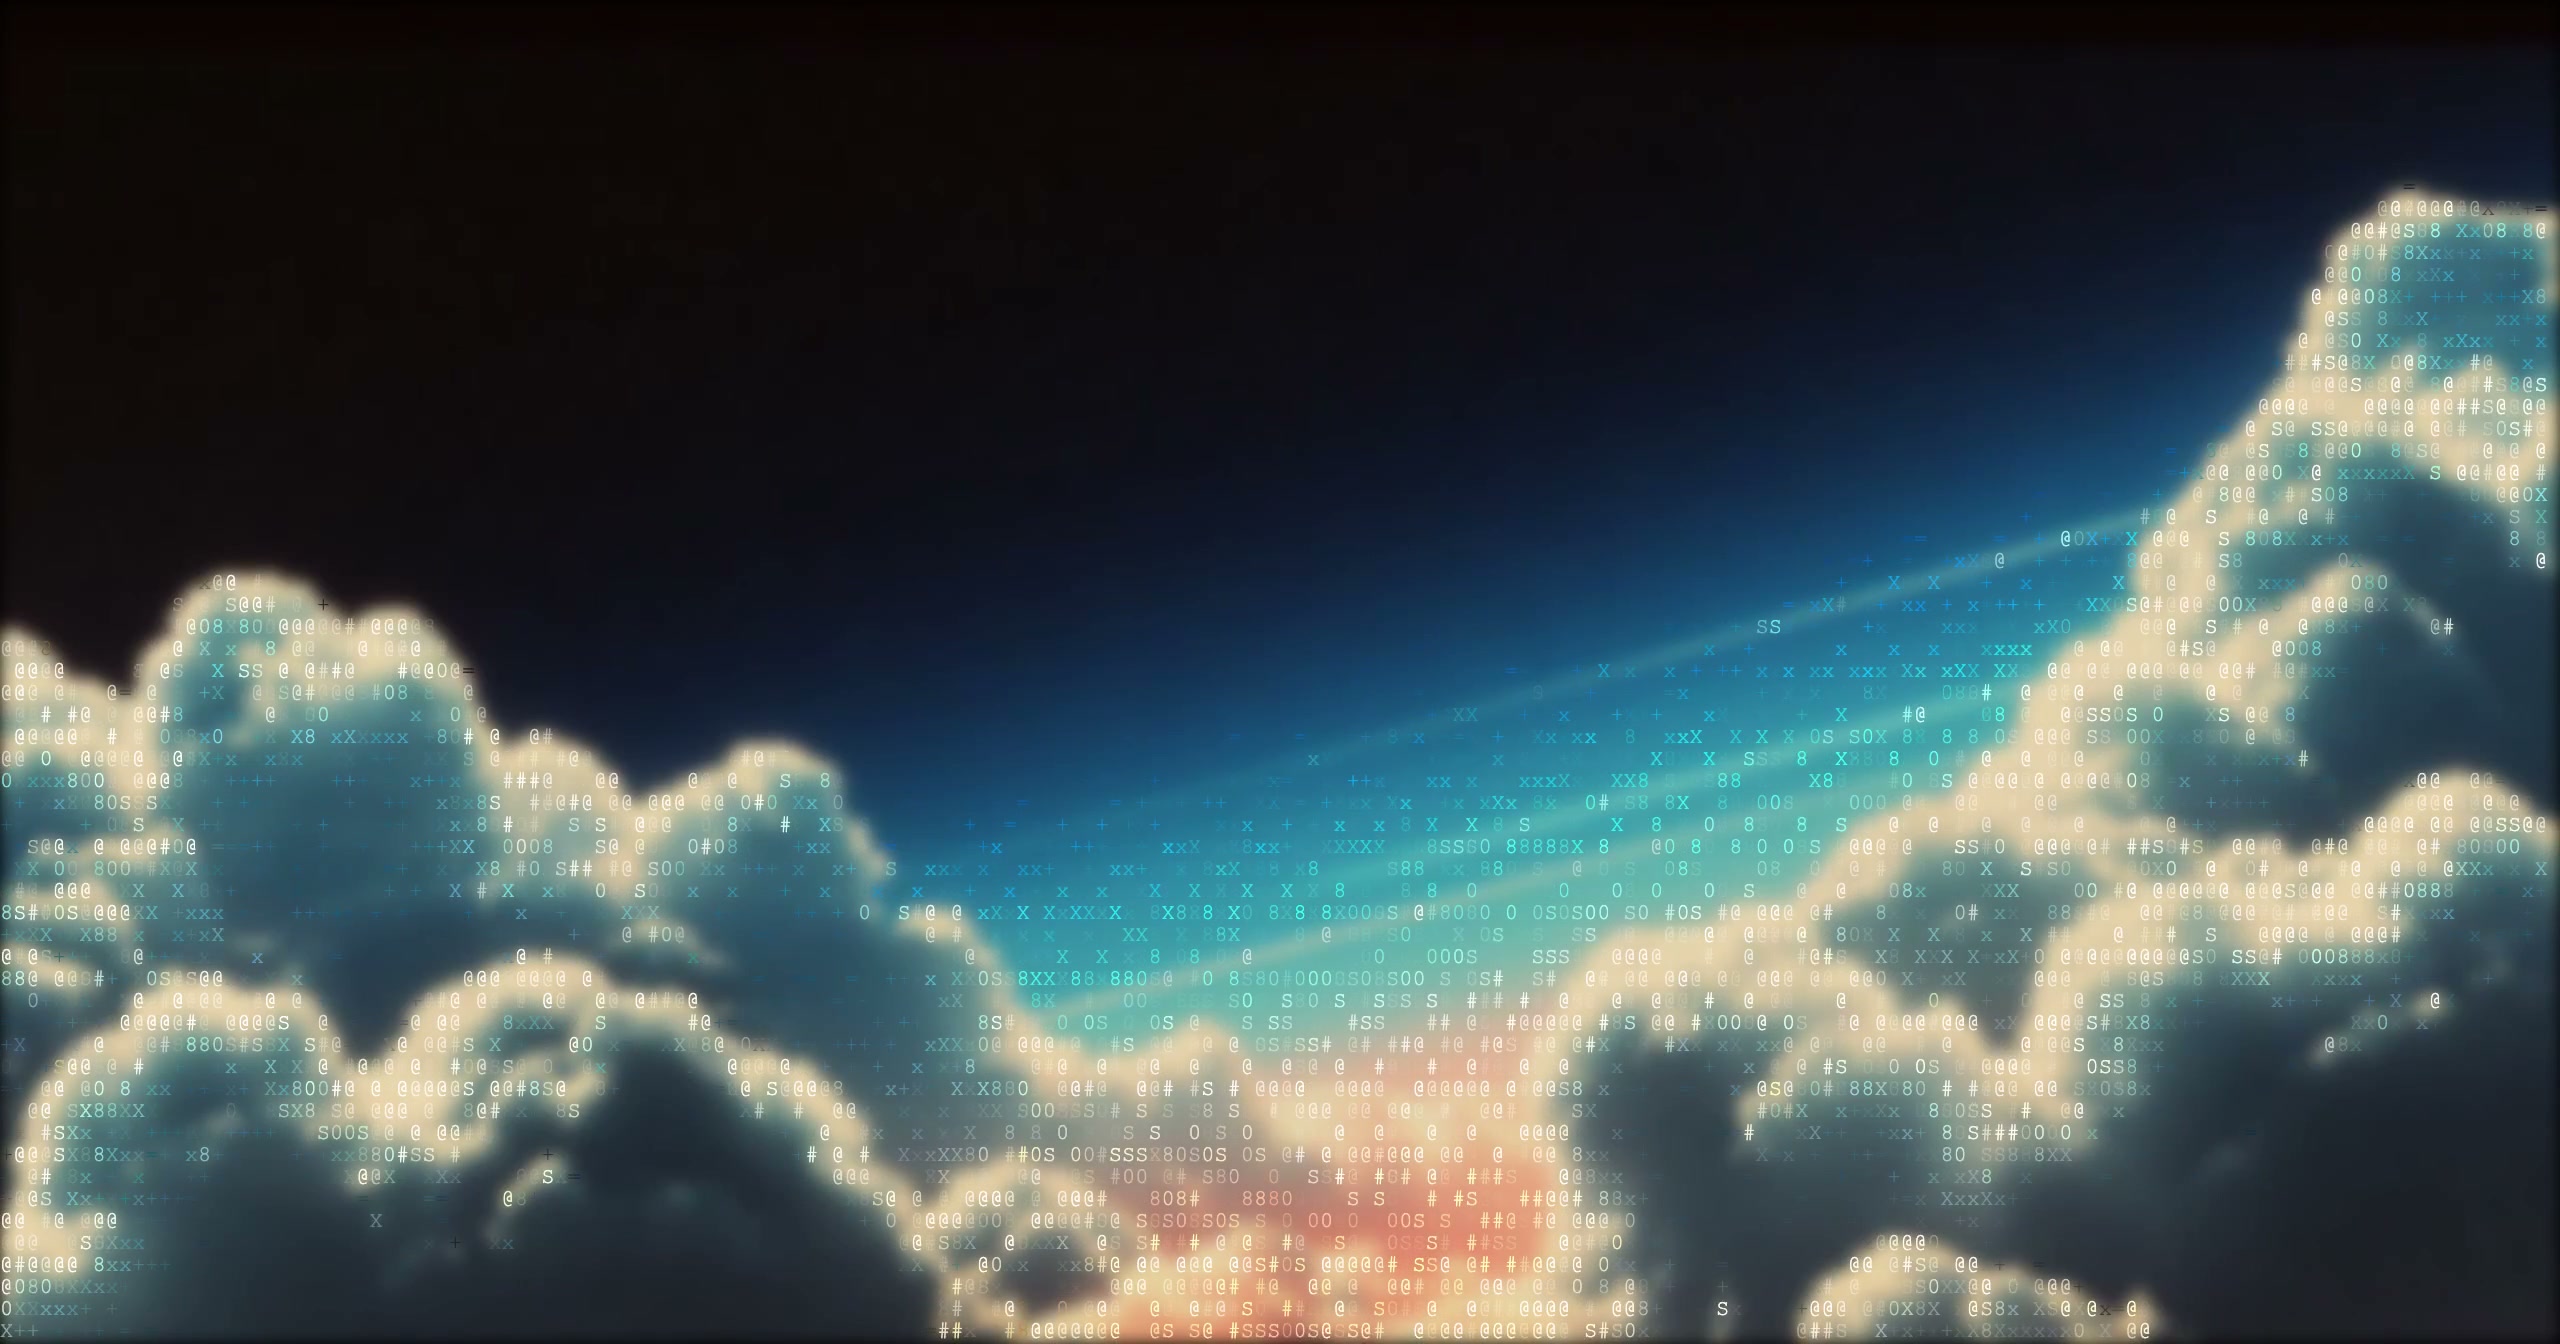
The source image for this post was picked on purpose, and it's worth knowing why. When I ran the exact same code on a moody portrait and on a dark cloudscape, both came out as a wall of @ and %. The basic algorithm maps brightness linearly, so a photo that lives mostly in the shadows crowds into two or three characters and the subject disappears.
Three fixes, from easiest to best: start with a high-contrast source (a clear subject against a plain background), stretch the contrast before mapping (rescale the darkest pixel to 0 and the brightest to 255), or add dithering so in-between tones are spread across neighbouring cells instead of collapsing into one character.
Where to take it next
- The polished version is a rabbit hole. Tuning the ramp per image, keeping per-cell colour, dithering, and running all of it over video frames each get fiddly fast. If you'd rather turn those knobs visually, the ASCII Magic editor runs this same Canvas/WebGL pipeline with 100+ effects and no upload. It's a good reference for what the finished version of this algorithm looks like.
- Coloured ASCII: keep each cell's average RGB and wrap the character in a
<span style="color:...">. - Edge-aware characters: pick characters by local gradient direction (
/,\,|,_) as well as brightness, and faces get much sharper. - Video: run
renderAsciion every frame of a<video>viarequestAnimationFrame. Our video to ASCII guide covers the result end to end.
The core never changes: pixels in, brightness per cell, a character per brightness. Once that clicks, every variation above is a small tweak on the same loop.